
This mouthwatering Mongolian Beef recipe is loaded with bold flavor and comes together fast! Sweet, savory and with a subtle, spicy kick, it’s better than your favorite takeout! Serve with steamed, fluffy rice for an easy, irresistible dinner the whole family will love!
Looking for more stir fry recipes to make? Try my Chicken Stir Fry, Cashew Chicken or Beef and Broccoli next!
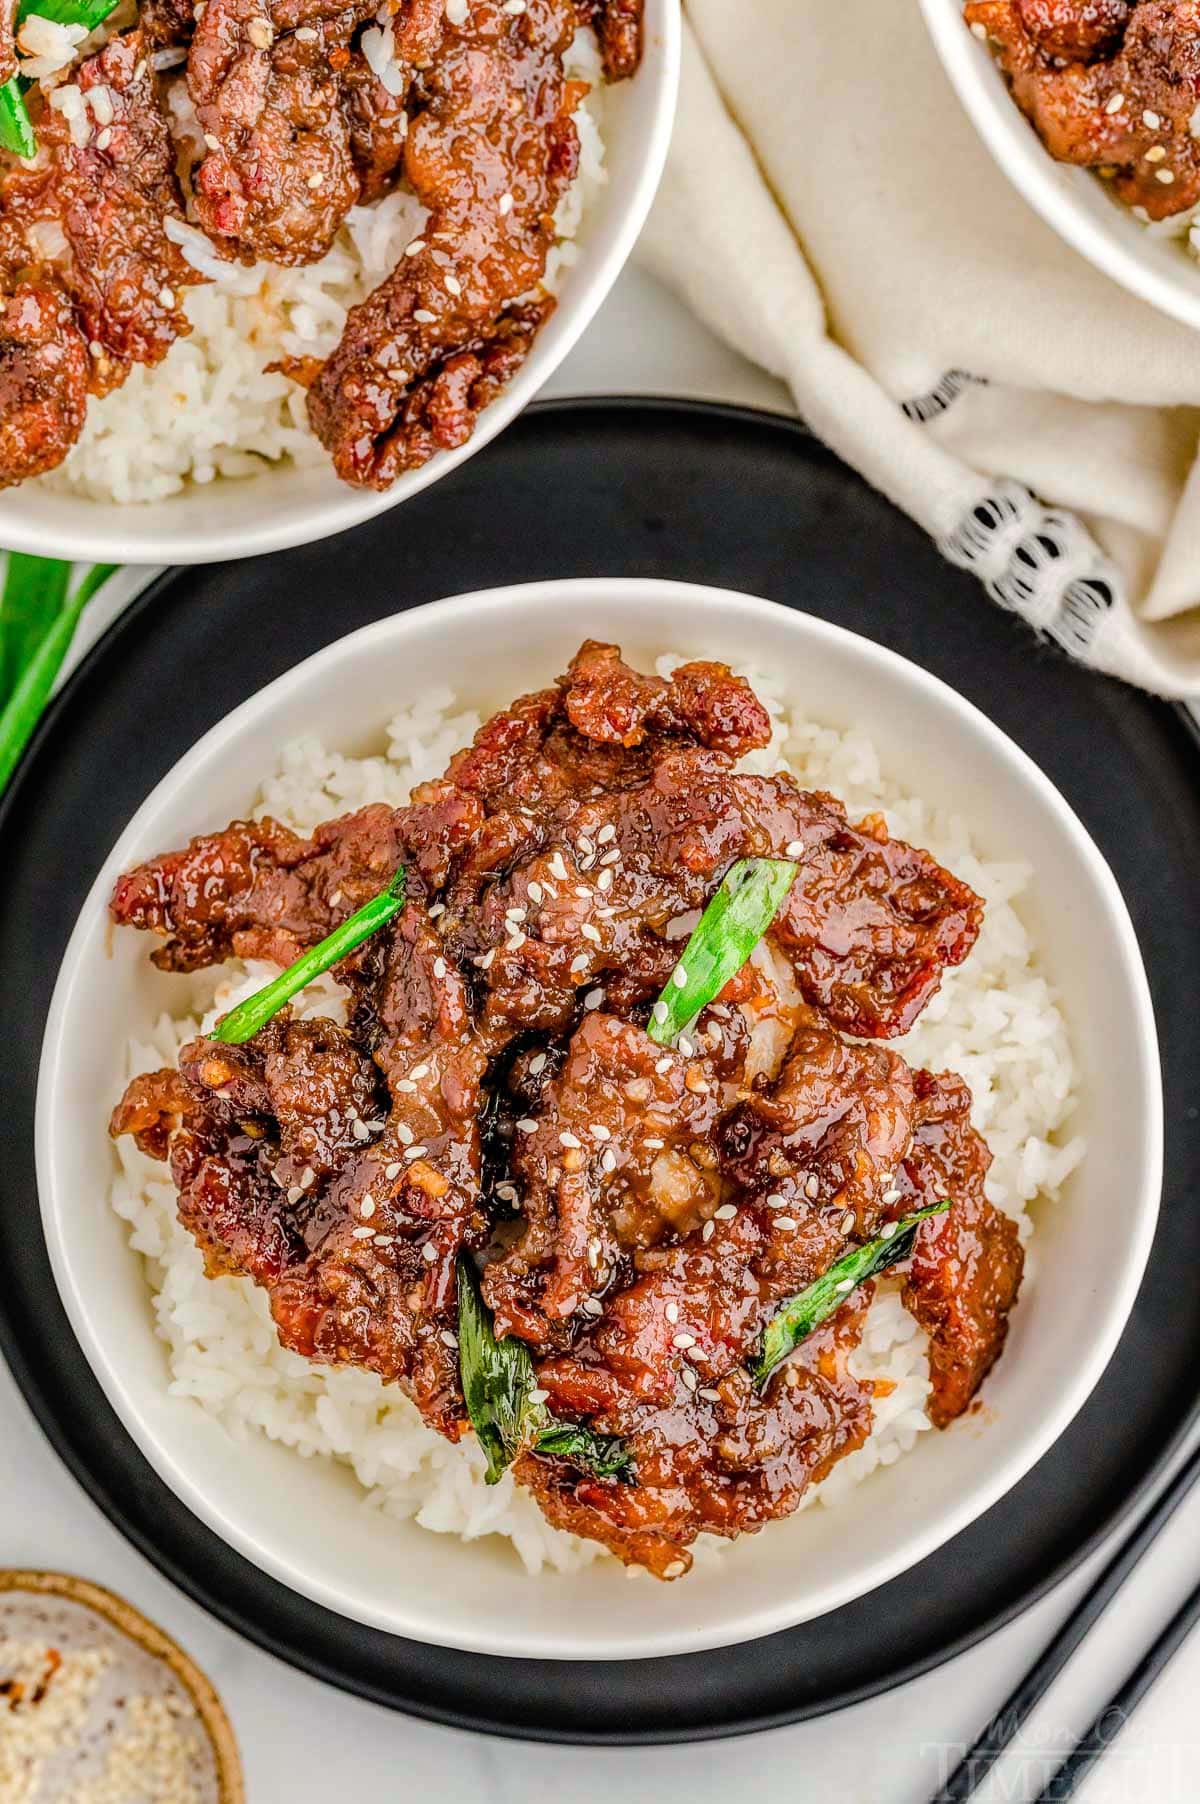
Mongolian Beef Recipe
Mongolian Beef has always been one of my favorite takeout dishes, but making it at home is surprisingly quick and easy. In less than 30 minutes, you can have a restaurant-quality meal that tastes even better than the original. Plus, you get to control the ingredients – less oil, lower sodium, and no mystery artificial ingredients. It’s the perfect weeknight dinner that feels a little indulgent but is still simple enough to whip up anytime!
Both of my boys give this recipe a 10 out of 10. They love it so much it’s become the standard when I’m testing new recipes. “It’s good…but not as good as the Mongolian Beef!” We love easy stir fry recipes and then one is now permanently in the rotation – a meal we all love!
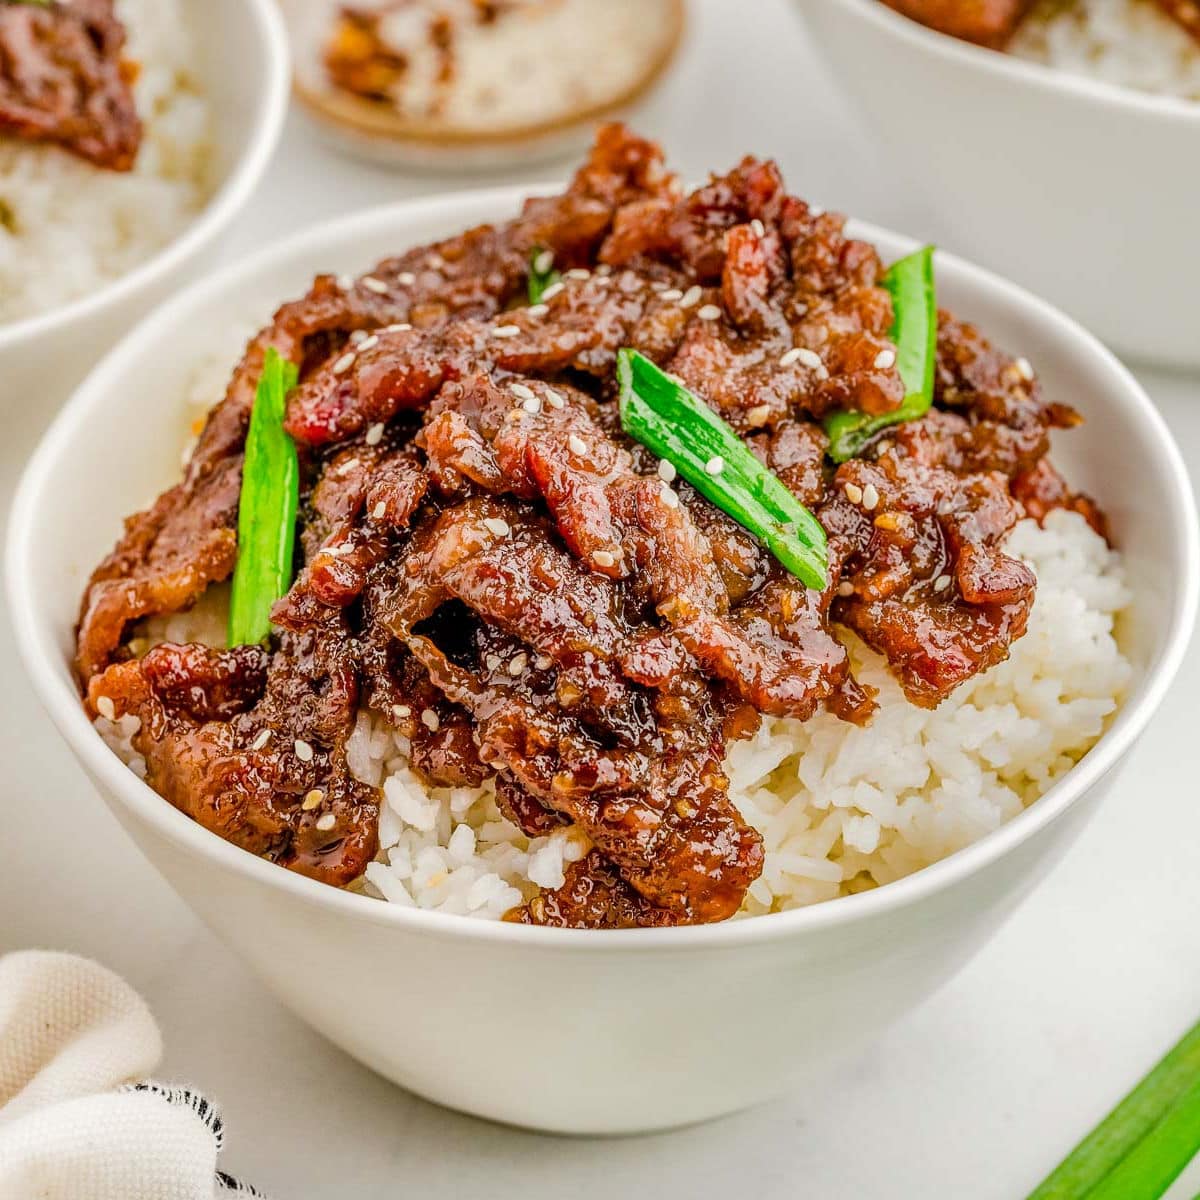
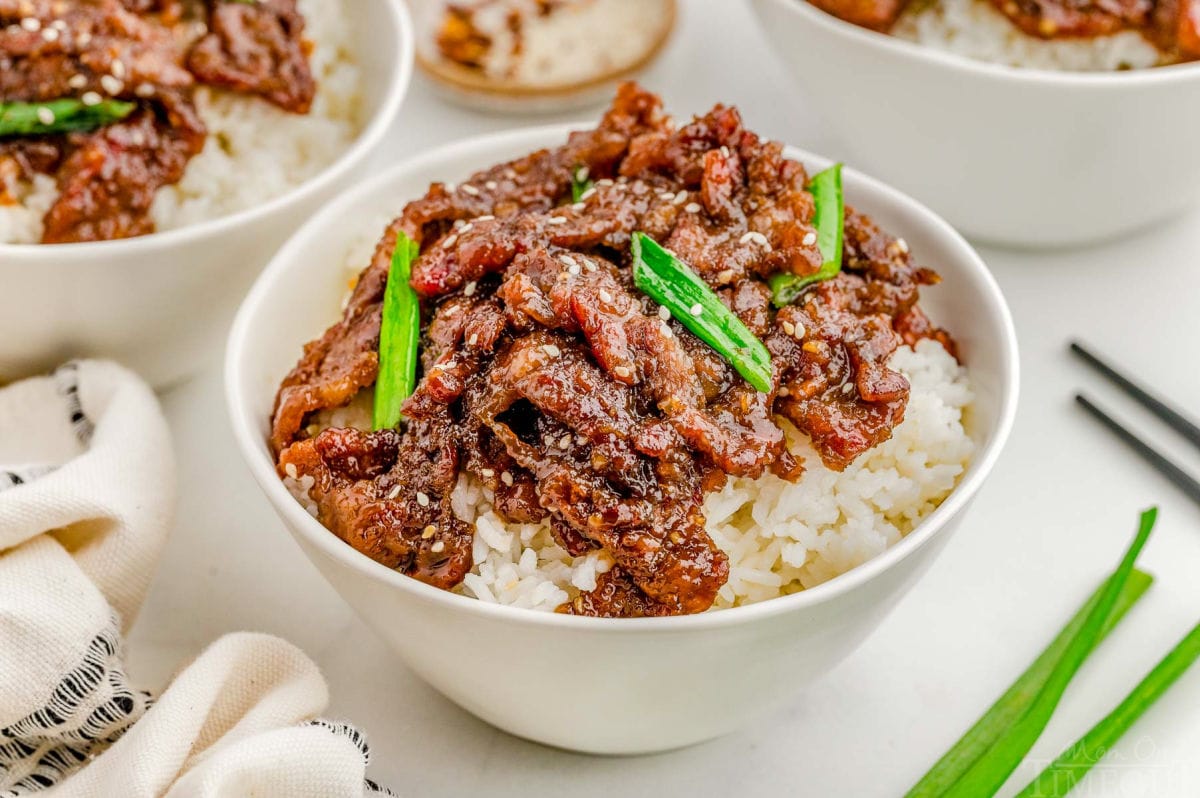
Thinly sliced flank steak or skirt steak gets coated in cornstarch to create the perfect crisp texture that is begging to be coated with savory sauce. It’s a mix of soy sauce, brown sugar, and a touch of heat from red pepper flakes that caramelizes beautifully, coating every bite of beef in a deep, umami-packed flavor that your tastebuds won’t be able to get enough of! Served over a bowl of fluffy white rice, it soaks up every bit of that sweet and savory sauce, making this meal completely irresistible.
The Mongolian Beef sauce is so good, you’ll want more of it! Double the sauce recipe and keep some on hand for extra drizzling over rice or veggies. It’s a great way to elevate any side dish!
Why You’ll Love This Recipe
Tender and flavorful, this Mongolian Beef recipe is a definite crowd-pleaser! With just a few simple ingredients, you can create a dish that rivals your favorite takeout spot—no delivery fee required!
- Bold, takeout-style flavor. This Mongolian Beef is rich, savory, and slightly sweet, with tender slices of steak coated in mouthwatering sauce. It tastes just like your favorite restaurant version – but it’s even better because you made it at home!
- Fast and easy. With minimal prep and just a few simple ingredients, this dish comes together in under 30 minutes. No complicated techniques, no long marinating – just quick, flavorful cooking that will fit perfectly into your busy schedule.
- Perfect for any occasion. Whether you’re making it for a casual weeknight dinner or a meal to impress a special someone, this recipe delivers. Serve it over rice for a cozy, satisfying dish, or pair it with roasted veggies for a lighter, nutrient-packed option. However you enjoy it, you’ll be coming back for more!
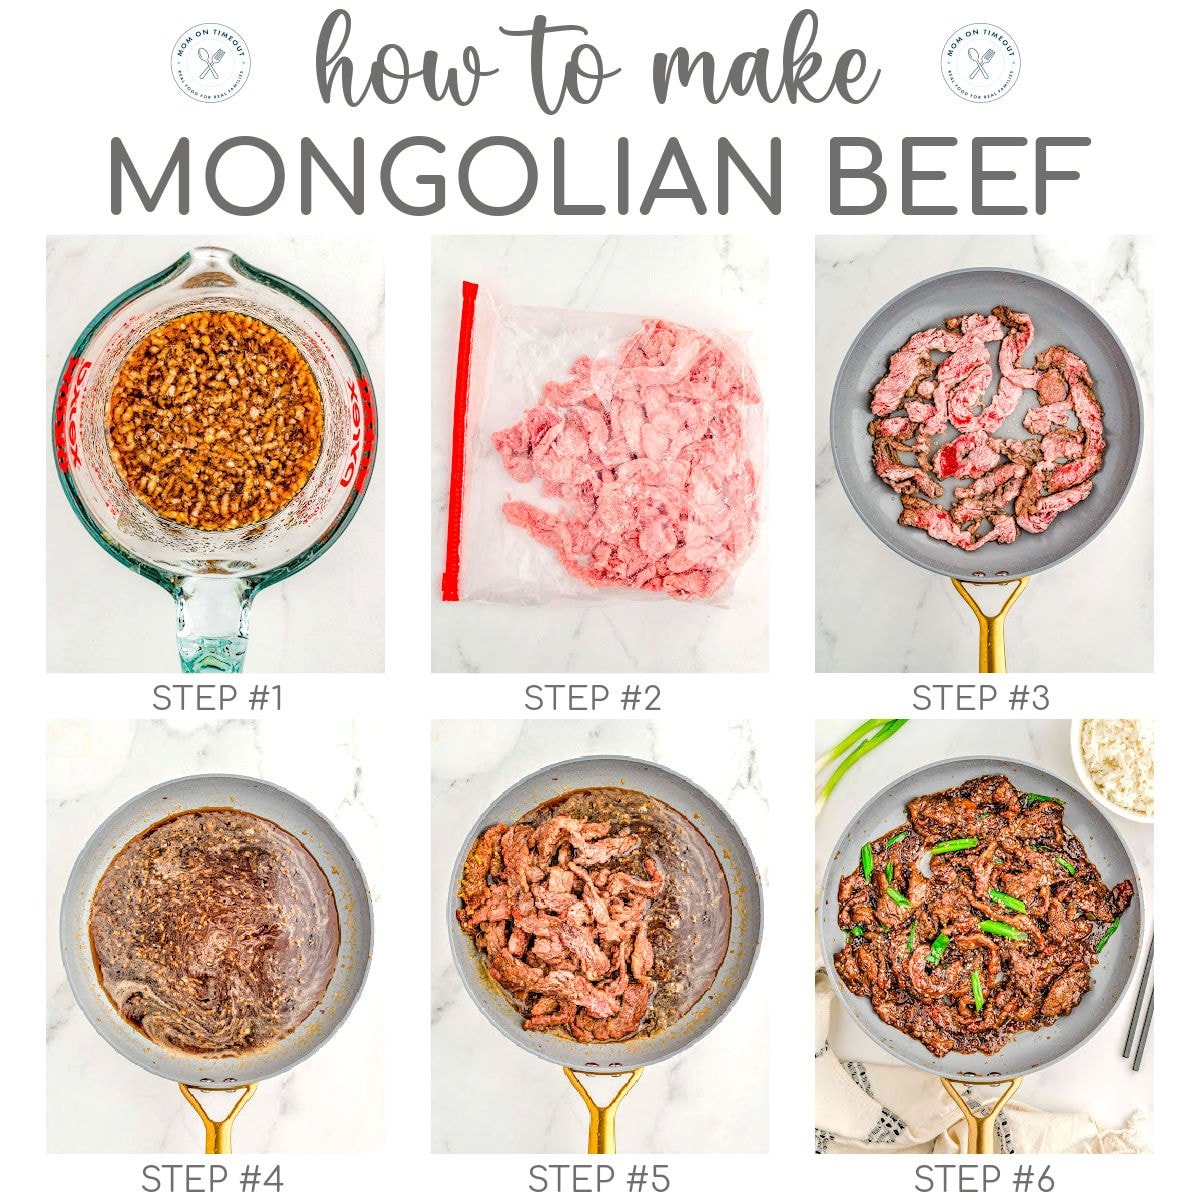
How to Make Mongolian Beef
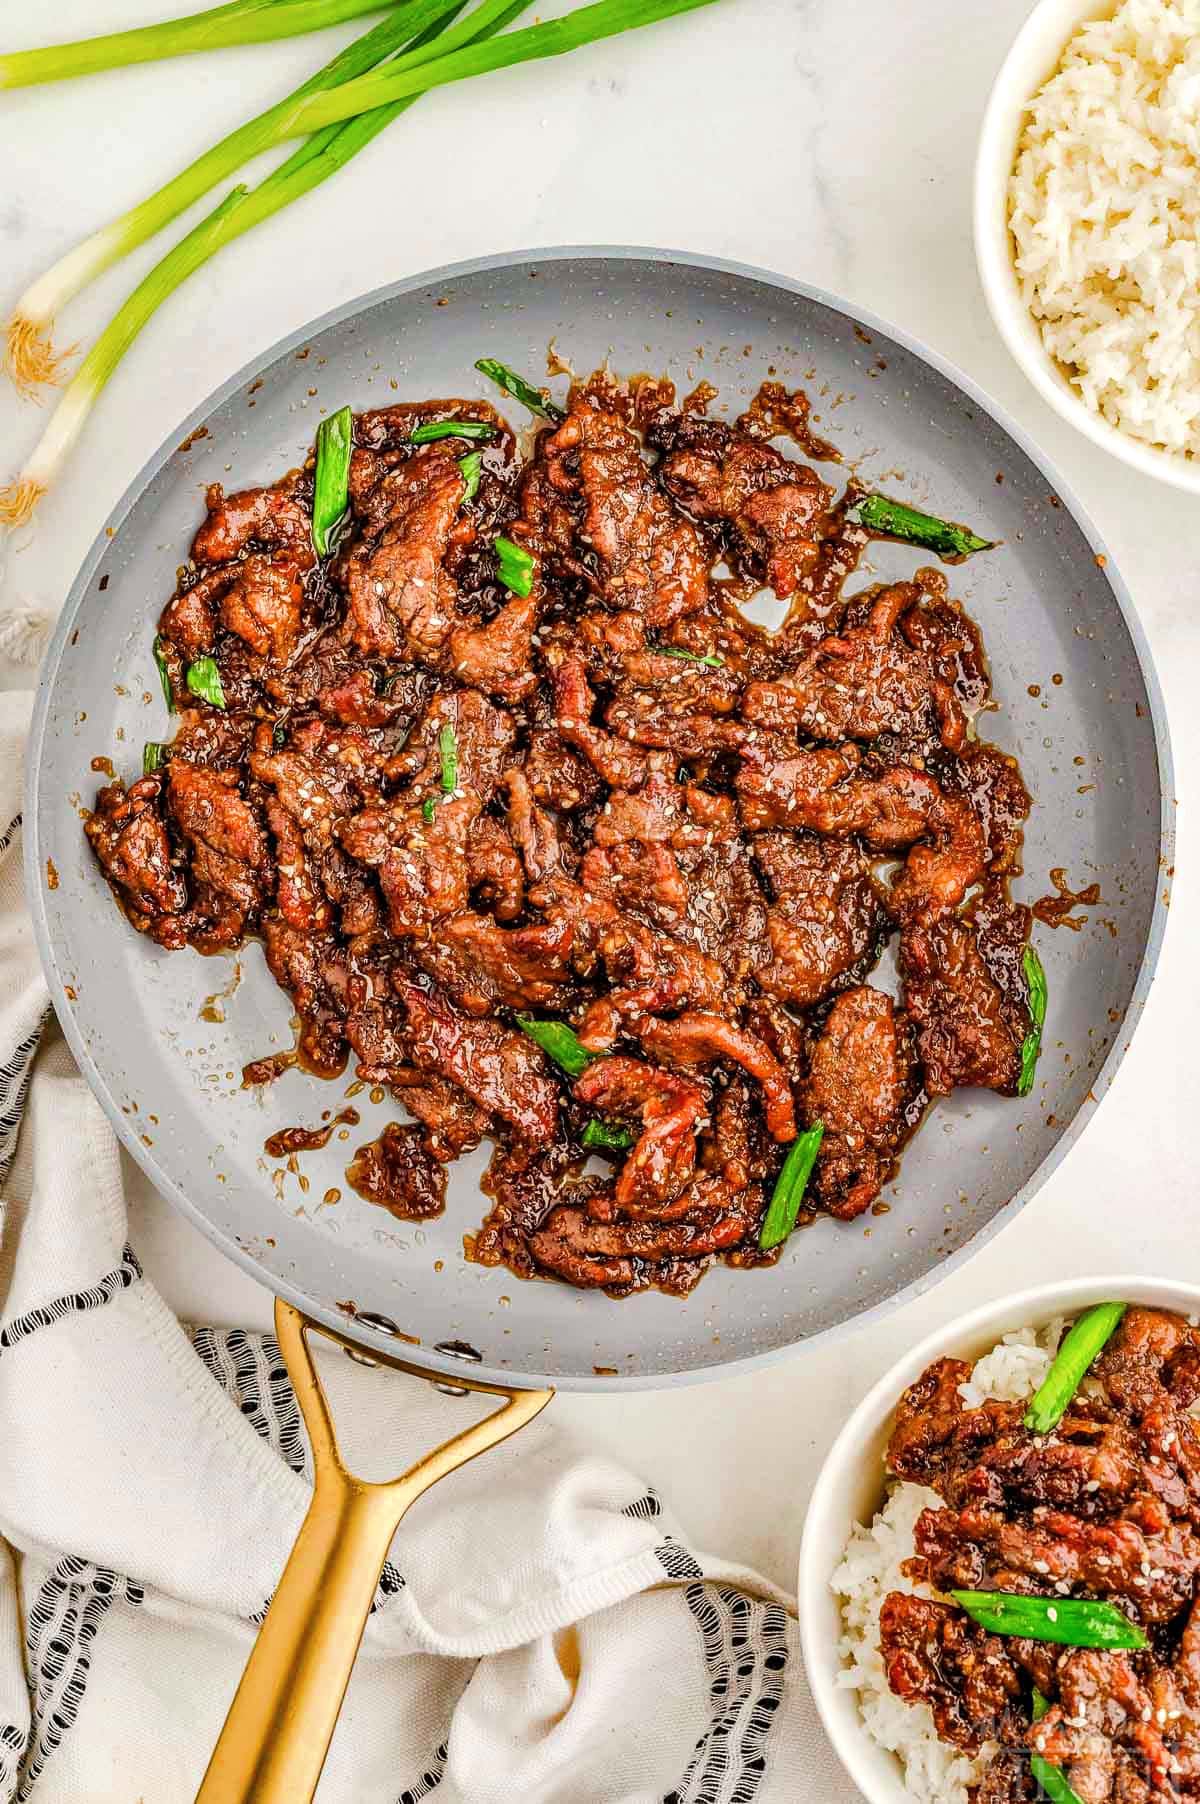
This recipe has become a staple in our kitchen over the past year and we make it at least once or twice a month. It’s not only quicker than takeout, it tastes better and is better for us. The Mongolian beef sauce is absolutely mouthwatering and uses pantry ingredients that I always have on hand. The steak is so tender and flavorful that between the sauce and the steak, we usually opt for a simple side of steamed rice to go alongside this Mongolian Beef recipe.
As always, you’ll find the full printable recipe card at the end of this post.
Mongolian Beef Sauce
- Whisk together the ginger, garlic, red pepper flakes, brown sugar, soy sauce and water.
Prepare Beef
- Cut steak into ¼ inch or thinner pieces and add to a large ziploc bag with cornstarch. Shake to coat.
- Add oil to a large skillet or wok. Once hot, add beef in a single layer and cook for 45 seconds. Flip and cook an additional 45 seconds. Remove.
- Add Mongolian beef sauce to the hot pan and bring to a boil.
- Reduce heat to medium and add the beef, tossing to combine.
- Sprinkle the green onions and sesame seeds over the top and toss once more.
Slice the meat thinly and against the grain for more tender and flavorful Mongolian beef! Freezing the meat for an hour before slicing helps firm it up, making it easier to achieve those perfectly thin cuts.
Storage Information
- Refrigerator: If you have leftover beef, store it in an airtight container in the refrigerator for up to 3 days.
- Freezer: Store the cooked beef (without the sauce) in an airtight container or freezer-safe bag for up to 2 months. Thaw overnight in the fridge and reheat in a skillet or microwave. I recommend making the sauce fresh when reheating for the best flavor.
- Make Ahead: You can slice and coat the beef in cornstarch in advance, then store it in a ziploc bag in the fridge for up to 24 hours. You can also prepare the sauce ahead of time and store it in an airtight container for up to 3 days. When ready to cook, just sear the beef and toss it in the sauce for a quick, flavorful meal.
- Reheat: To reheat, place the beef in a skillet over medium heat, adding a splash of water or broth to loosen the sauce. You can also microwave it, but be sure to cover it to prevent it from drying out. Serve the sauce as is, either warmed or at room temperature.
Can I use a different cut of beef?
Yes! While flank steak is ideal for this recipe, you can also use skirt steak, sirloin, or even ribeye. Just make sure to slice the beef thinly against the grain for the best texture.
How can I make this recipe spicier?
If you like more heat, add extra red pepper flakes or a splash of chili paste to the sauce. You can also try adding fresh sliced chili peppers when cooking the beef for a bit of extra spice.
Can I add vegetables to this dish?
Yes! Feel free to toss in some stir-fried vegetables like bell peppers, broccoli, or snap peas for added flavor and texture. Just cook them separately and toss them in with the beef at the end.

Variations to Try
- Swap the beef for chicken or pork for a delicious variation.
- For a vegetarian version, use firm tofu. Press and slice it into thin pieces, then sear it until crispy before adding the sauce.
- Add more vegetables to make the dish more hearty and colorful. Stir-fried bell peppers, onions, broccoli, or snap peas can be added during the last few minutes of cooking.
- Kick up the heat by adding sliced jalapeños, red chili flakes, or a drizzle of chili oil. This will give your Mongolian beef a fiery punch, perfect for spice lovers!
- For a fun twist, serve the Mongolian beef over cooked noodles (like lo mein or rice noodles) instead of rice.
- If you prefer a sweeter profile, try adding a splash of pineapple juice to the sauce, along with a few chunks of pineapple, for a sweet and tangy variation.
- Incorporate more stir-fry elements by adding ingredients like water chestnuts, baby corn, or mushrooms.
Trish’s Tips
- Pop your beef in the freezer for 30 to 60 minutes before cutting for those perfectly thin cuts.
- Slice the beef thinly and against the grain. This helps ensure the meat is tender and absorbs the flavors of the sauce better. Use a sharp knife for the best results!
- When searing the beef, work in batches to avoid steaming the meat. You want it to have that crispy texture.
- If you prefer your Mongolian beef a little sweeter, feel free to add more brown sugar to the sauce. Taste as you go to get the perfect flavor.
- When you add the sauce to the pan, whisk continuously to ensure it thickens evenly without clumping or burning.
- While you can serve the Mongolian Beef with leftover rice, freshly cooked rice absorbs the sauce better and has a fluffier texture.
- Once you’ve seared the beef, let it rest for a few minutes before tossing it in the sauce to ensure the beef stays tender and juicy.
- If you prefer more spice, feel free to add extra red pepper flakes or chili paste to the sauce for that extra kick.

More Stir Fry Recipes to Try
- Cashew Chicken
- Chicken Stir Fry
- Honey Walnut Shrimp
- Sesame Chicken with Broccoli
- Chicken Lo Mein
- Beef and Broccoli
Mongolian Beef
This mouthwatering Mongolian Beef recipe is loaded with bold flavor and comes together fast! Sweet, savory and with a subtle, spicy kick, it’s better than your favorite takeout! Serve with rice for an easy, irresistible dinner the whole family will love!
Ingredients
Mongolian Beef Sauce
- 2 teaspoons ginger paste
- 4 cloves garlic minced
- pinch red pepper flakes
- ½ cup light brown sugar
- ⅓ cup soy sauce low sodium
- ⅓ cup water
Beef
- 1 pound flank steak or skirt steak
- ¼ cup corn starch
- 3 tablespoons extra virgin olive oil
Garnish (Optional)
- 3 green onions green parts only cut into 1-2 inch pieces on the diagonal
- 1 teaspoon sesame seeds
Instructions
Prepare Mongolian Beef Sauce
In a small bowl whisk together the ginger, garlic, red pepper flakes, brown sugar, soy sauce and water. Set aside.
2 teaspoons ginger paste, 4 cloves garlic, pinch red pepper flakes, ½ cup light brown sugar, ⅓ cup soy sauce, ⅓ cup water
Cook Beef
Cut the steak into ¼ inch or thinner pieces with a sharp knife against the grain.
1 pound flank steak
Add the cornstarch to a large ziploc bag and add the steak pieces into it. Shake the bag and make sure all the beef is covered. Let it sit in the bag for a few minutes while you continue on in the recipe.
¼ cup corn starch
Add the oil to a large skillet or wok and heat over hot heat. Once hot, add half the beef in a single layer and cook for 45 seconds. Flip the beef over and cook an additional 45 seconds. Remove to a plate and cook the second half of the beef the same way you cooked the first half. *The beef does not need to cook through in this step. It will continue cooking with the sauce later.*
3 tablespoons extra virgin olive oil
Combine
Remove to a plate and reduce heat to medium high.
Add the sauce you previously mixed to the hot pan and whisk continuously and bring to a boil. Reduce heat to medium and add the beef to the sauce. Toss to combine, cooking to thicken the sauce, about 2-3 minutes.
Sprinkle the green onions and sesame seeds over the top and toss once more. Remove from heat and serve with rice, if desired.
3 green onions, 1 teaspoon sesame seeds, 2-3 cups cooked rice
Notes
- Refrigerator: If you have leftover beef, store it in an airtight container in the refrigerator for up to 3 days.
- Freezer: Store the cooked beef (without the sauce) in an airtight container or freezer-safe bag for up to 2 months. Thaw overnight in the fridge and reheat in a skillet or microwave. I recommend making the sauce fresh when reheating for the best flavor.
- Make Ahead: You can slice and coat the beef in cornstarch in advance, then store it in a zipper-top bag in the fridge for up to 24 hours. You can also prepare the sauce ahead of time and store it in an airtight container for up to 3 days. When ready to cook, just sear the beef and toss it in the sauce for a quick, flavorful meal.
- Reheat: To reheat, place the beef in a skillet over medium heat, adding a splash of water or broth to loosen the sauce. You can also microwave it, but be sure to cover it to prevent it from drying out. Serve the sauce as is, either warmed or at room temperature.
Tools and Equipment (affiliate links): Wok or Large Skillet | Glass Mixing Bowls | Whisk
Please see post above for more information, step-by-step process photos, recipe tips and frequently asked questions.
Nutrition
Calories: 407kcal | Carbohydrates: 37g | Protein: 27g | Fat: 16g | Saturated Fat: 4g | Polyunsaturated Fat: 1g | Monounsaturated Fat: 10g | Cholesterol: 68mg | Sodium: 1153mg | Potassium: 504mg | Fiber: 1g | Sugar: 27g | Vitamin A: 90IU | Vitamin C: 3mg | Calcium: 68mg | Iron: 3mg
Source link