This post may contain affiliate links. Please read my disclosure policy.

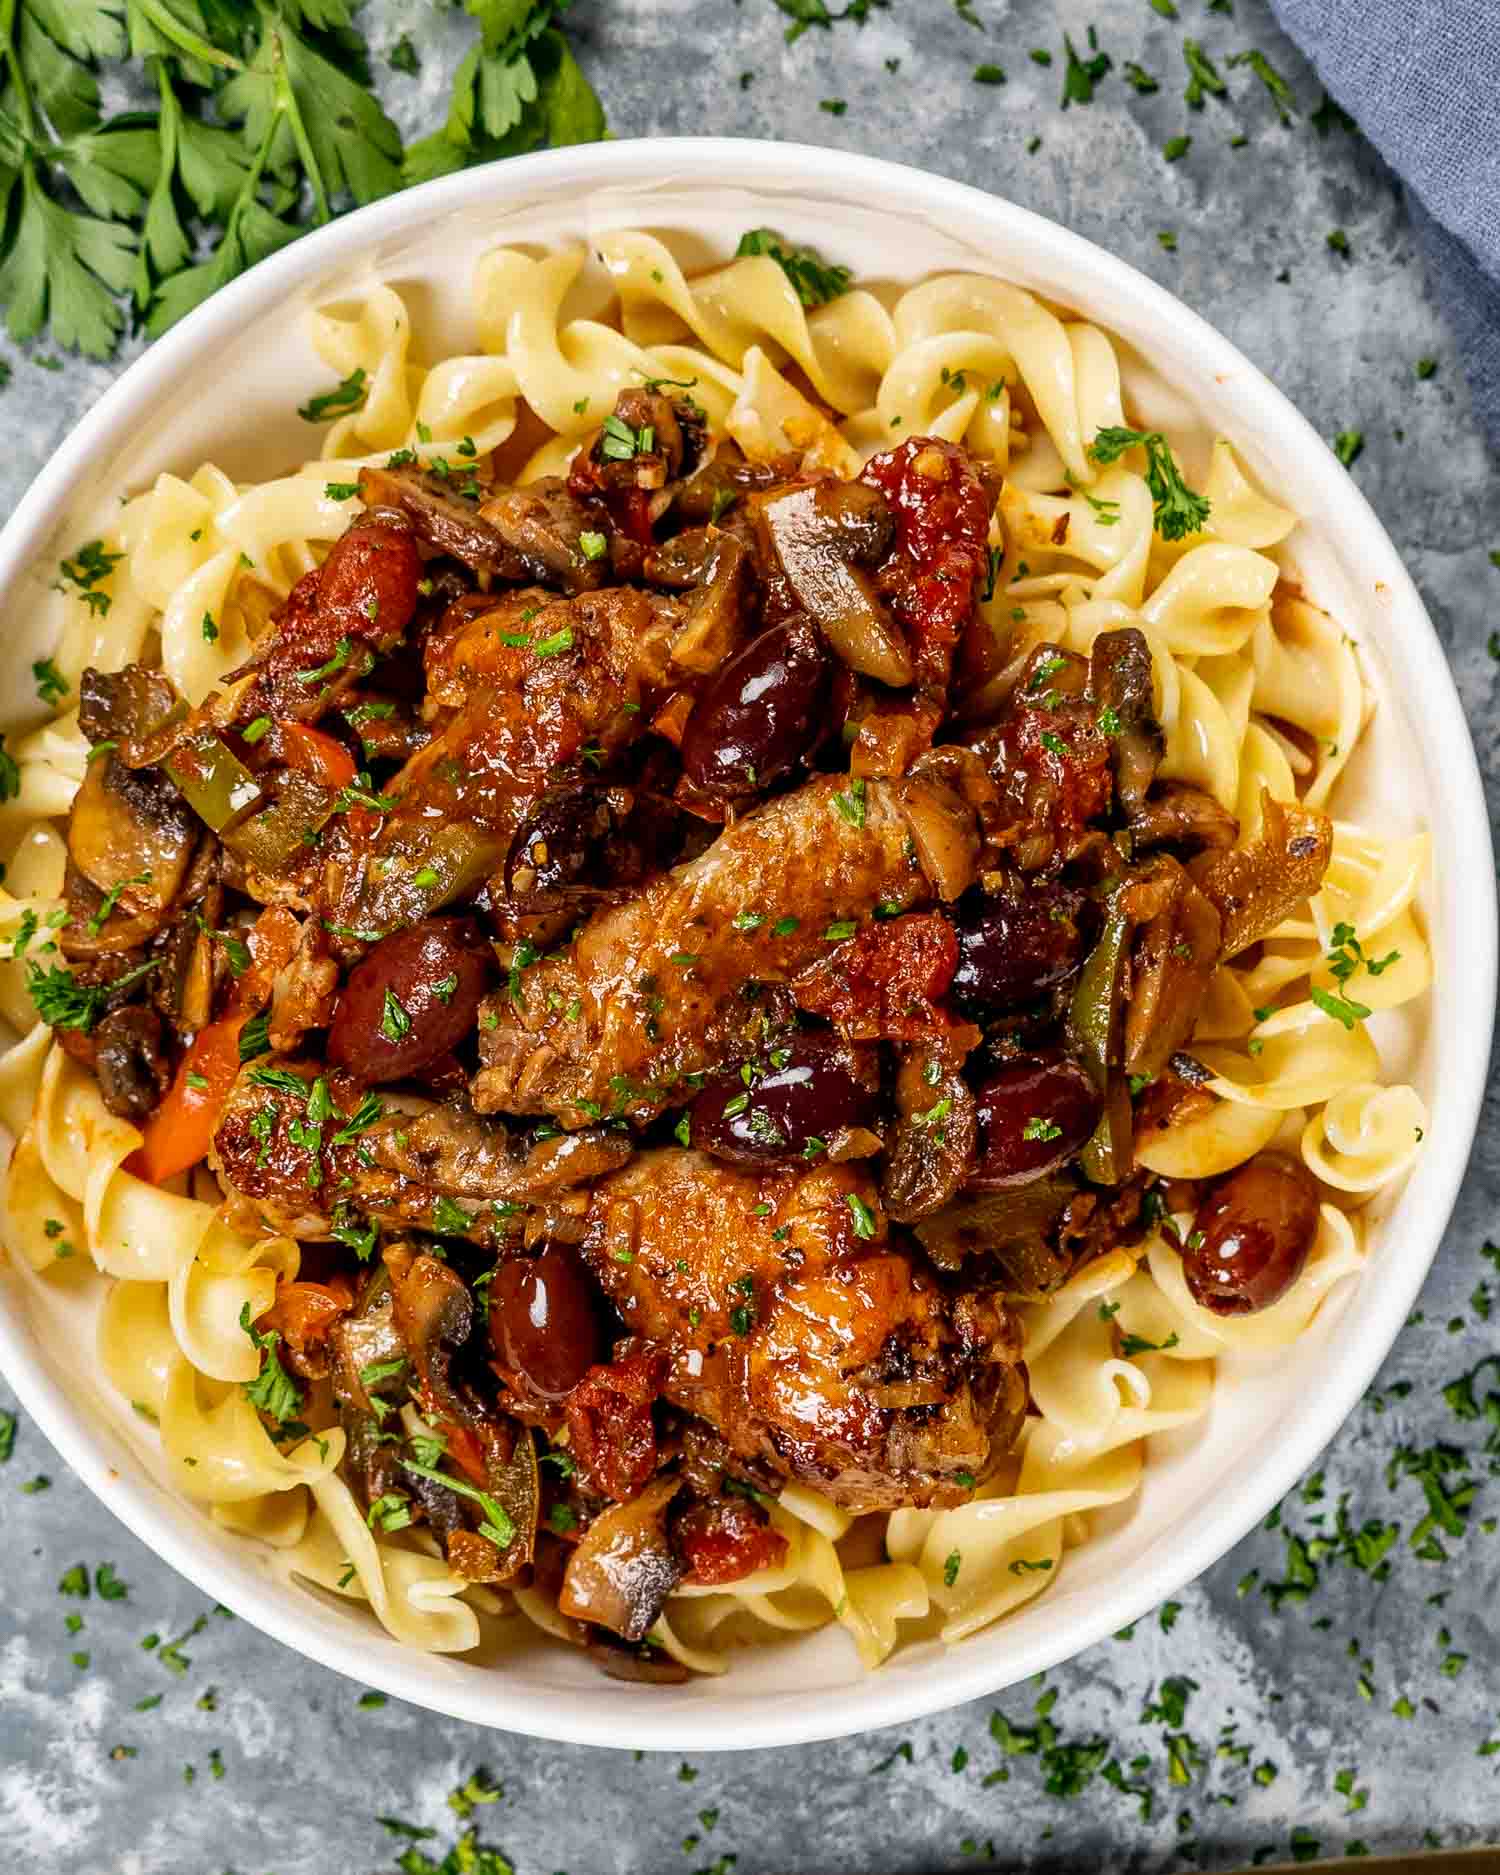
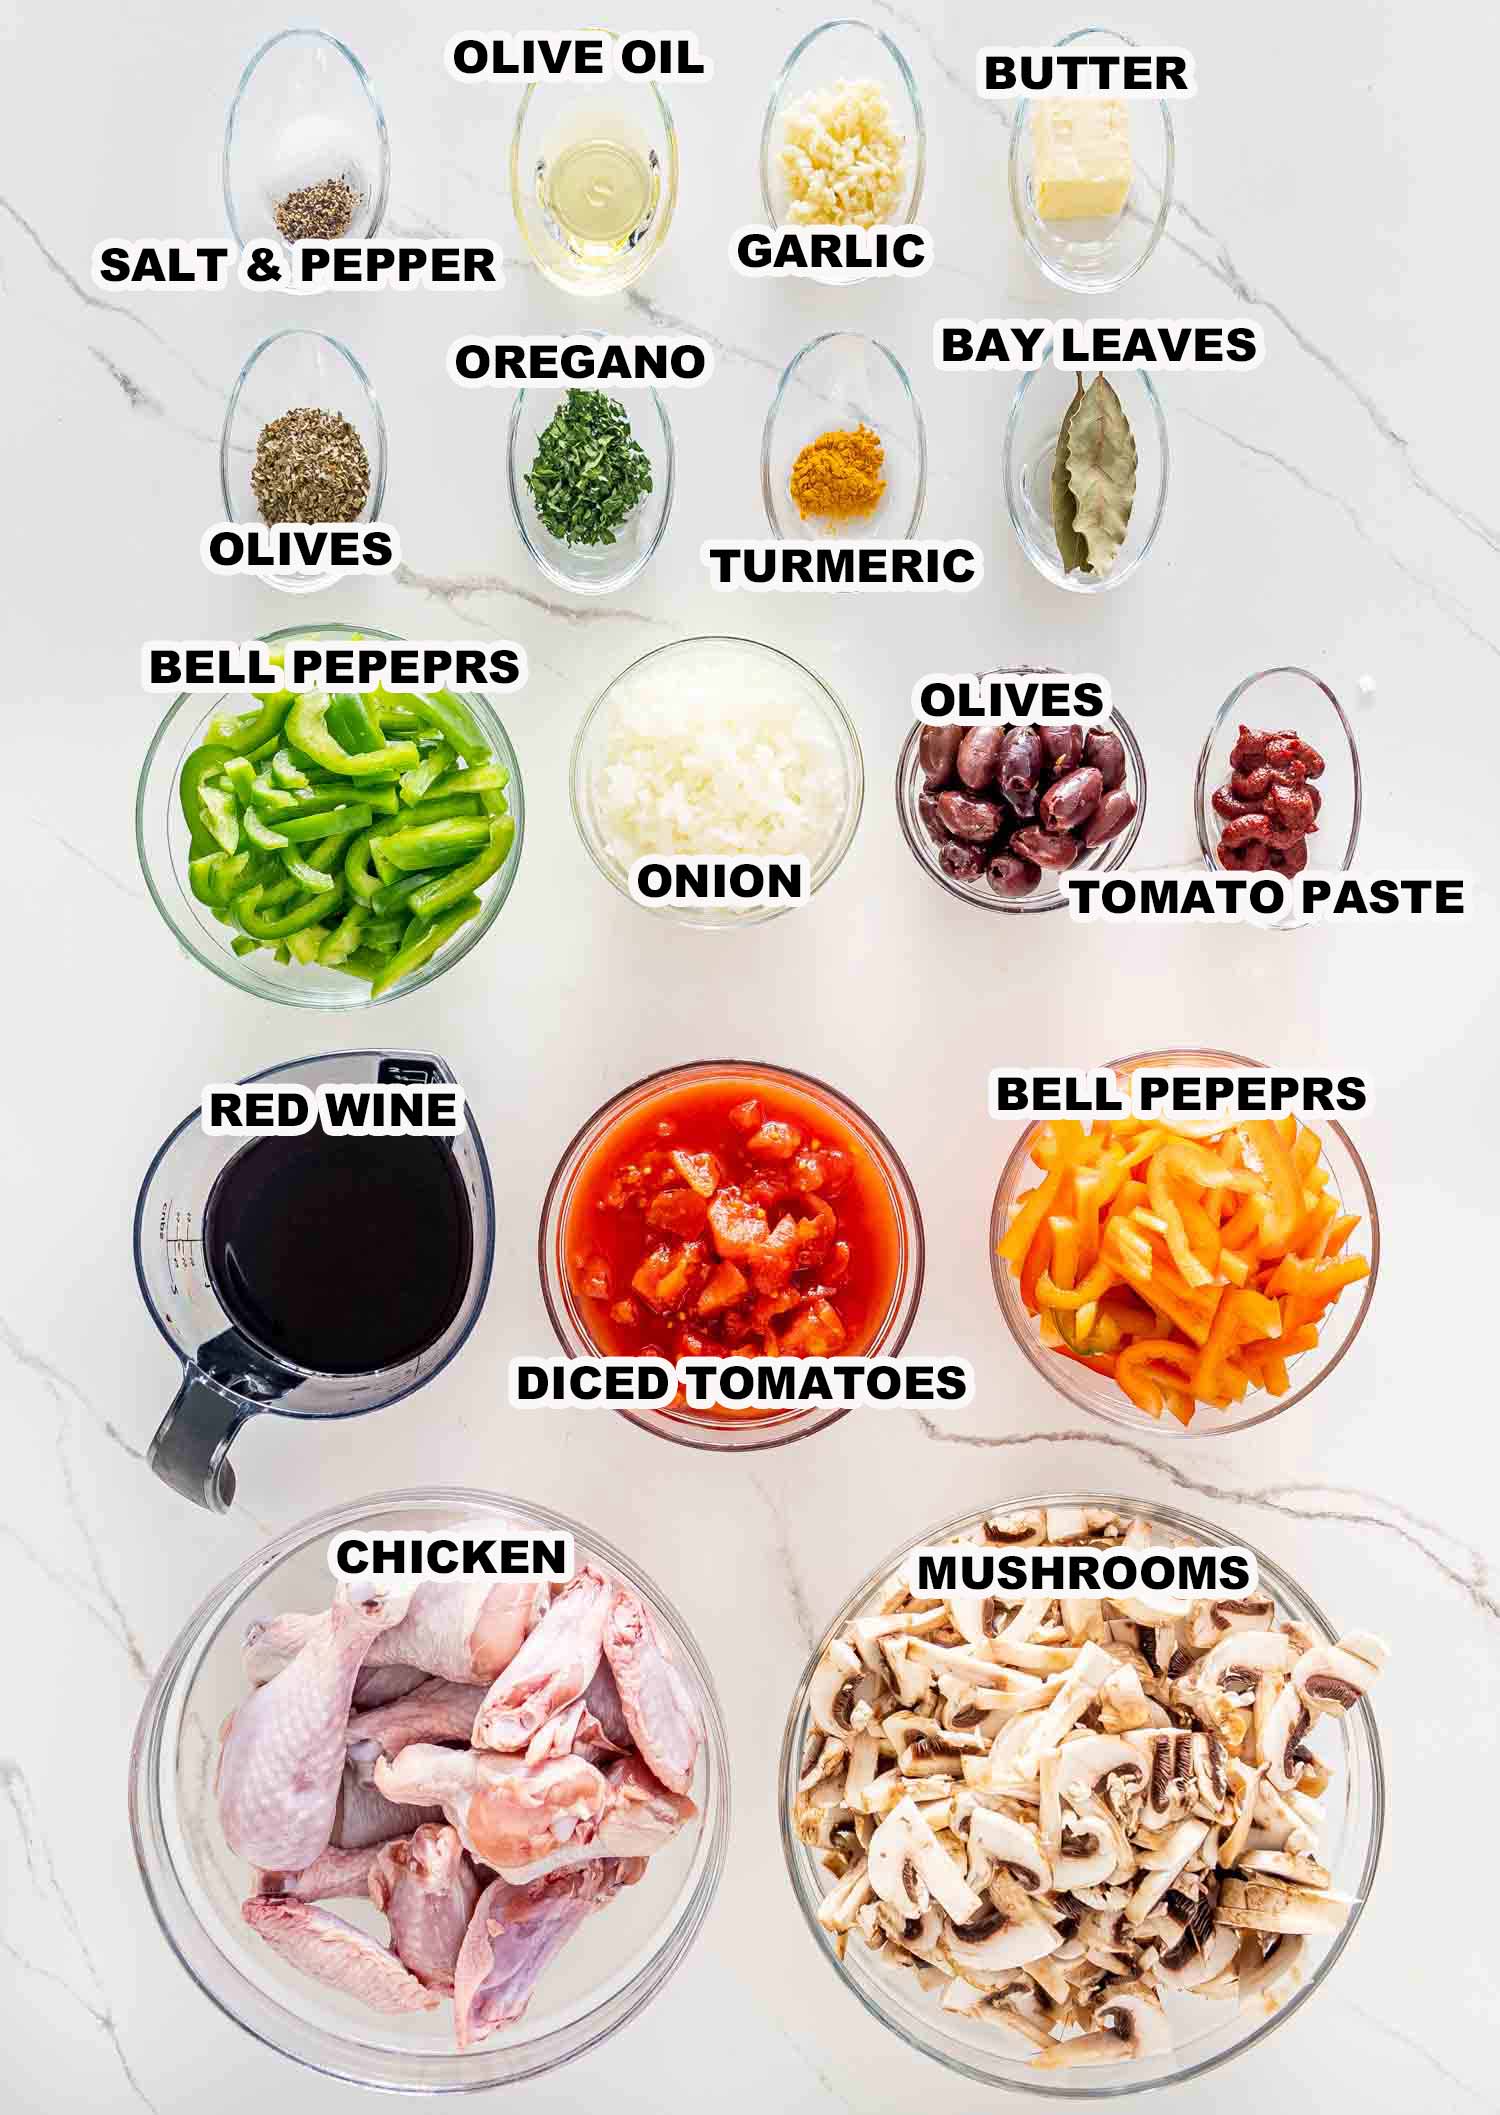
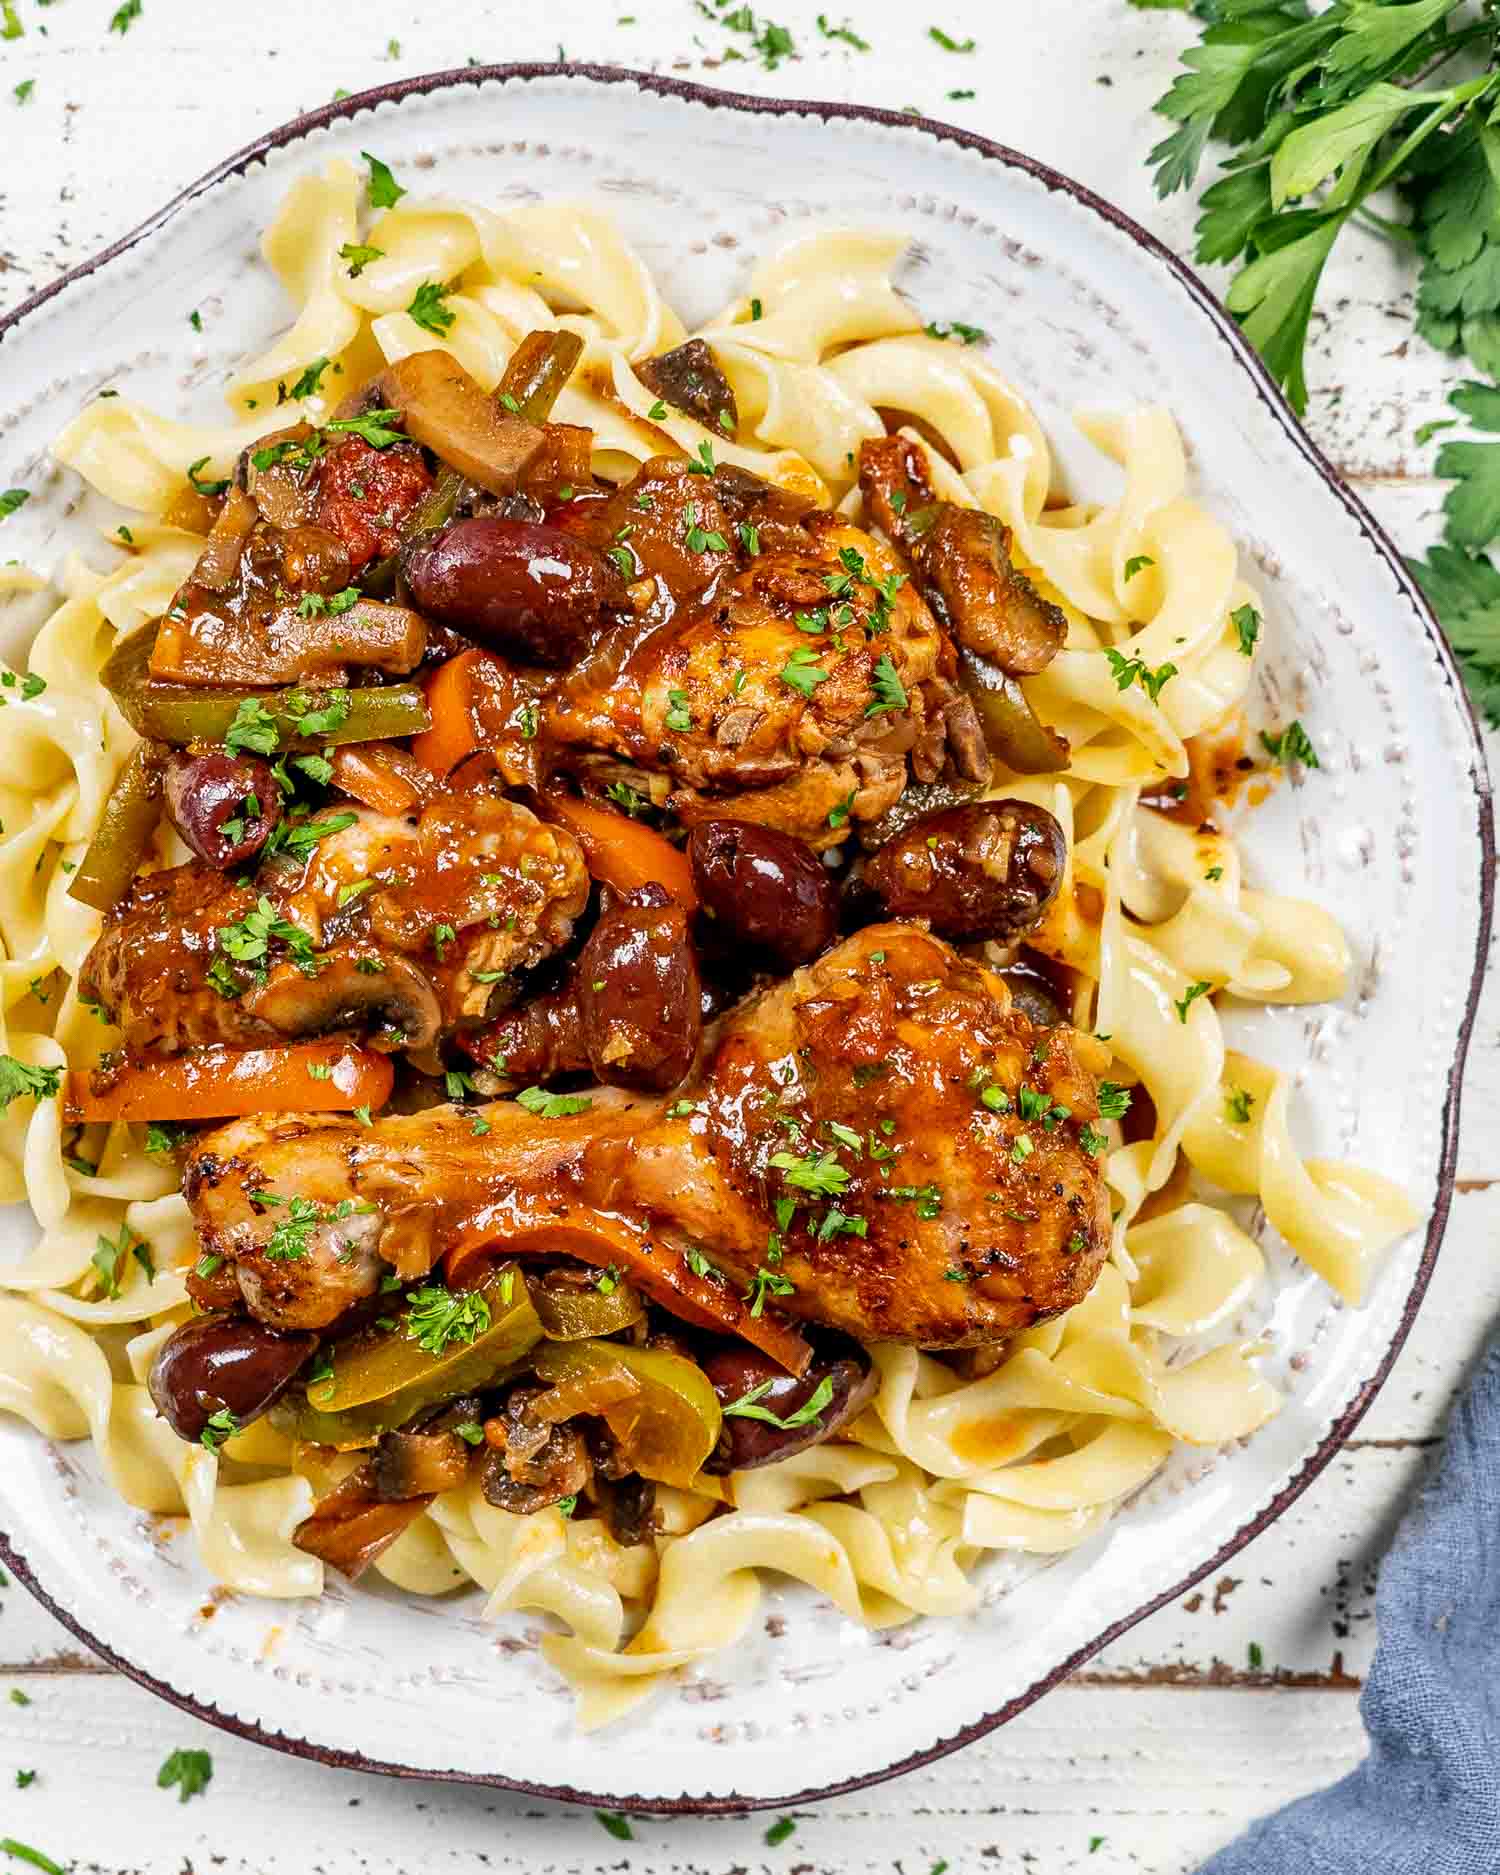
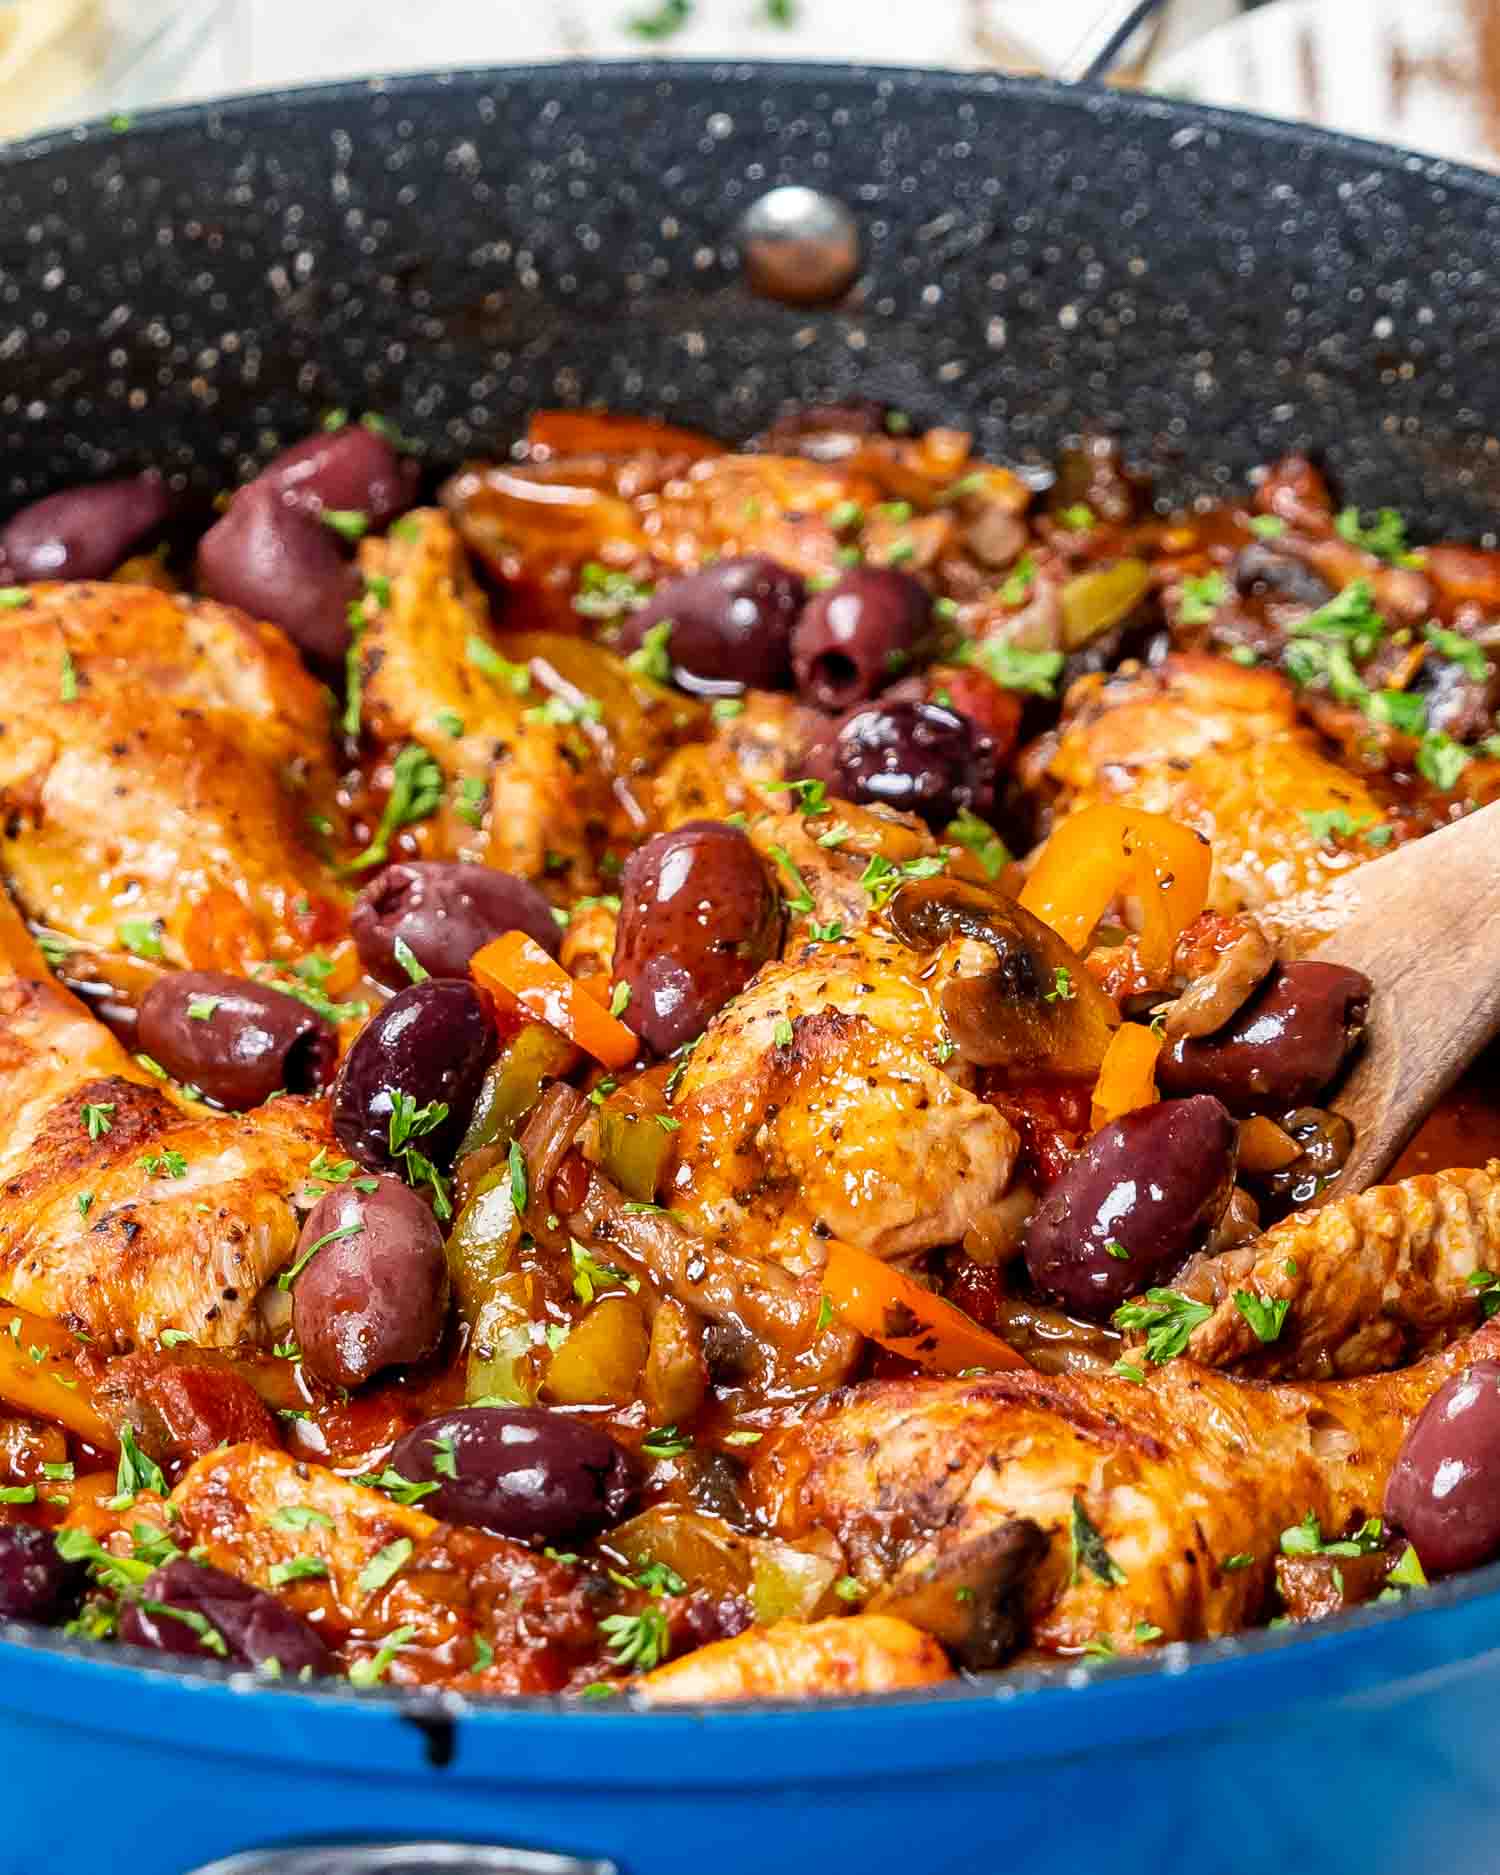
This rustic Chicken Cacciatore is everything comfort food should be—tender, fall-off-the-bone chicken baked in a rich tomato and red wine sauce, with mushrooms, sweet bell peppers, and briny olives. One pot, big flavor, and the kind of cozy dinner that basically cooks itself while you pretend you’re in the Italian countryside.
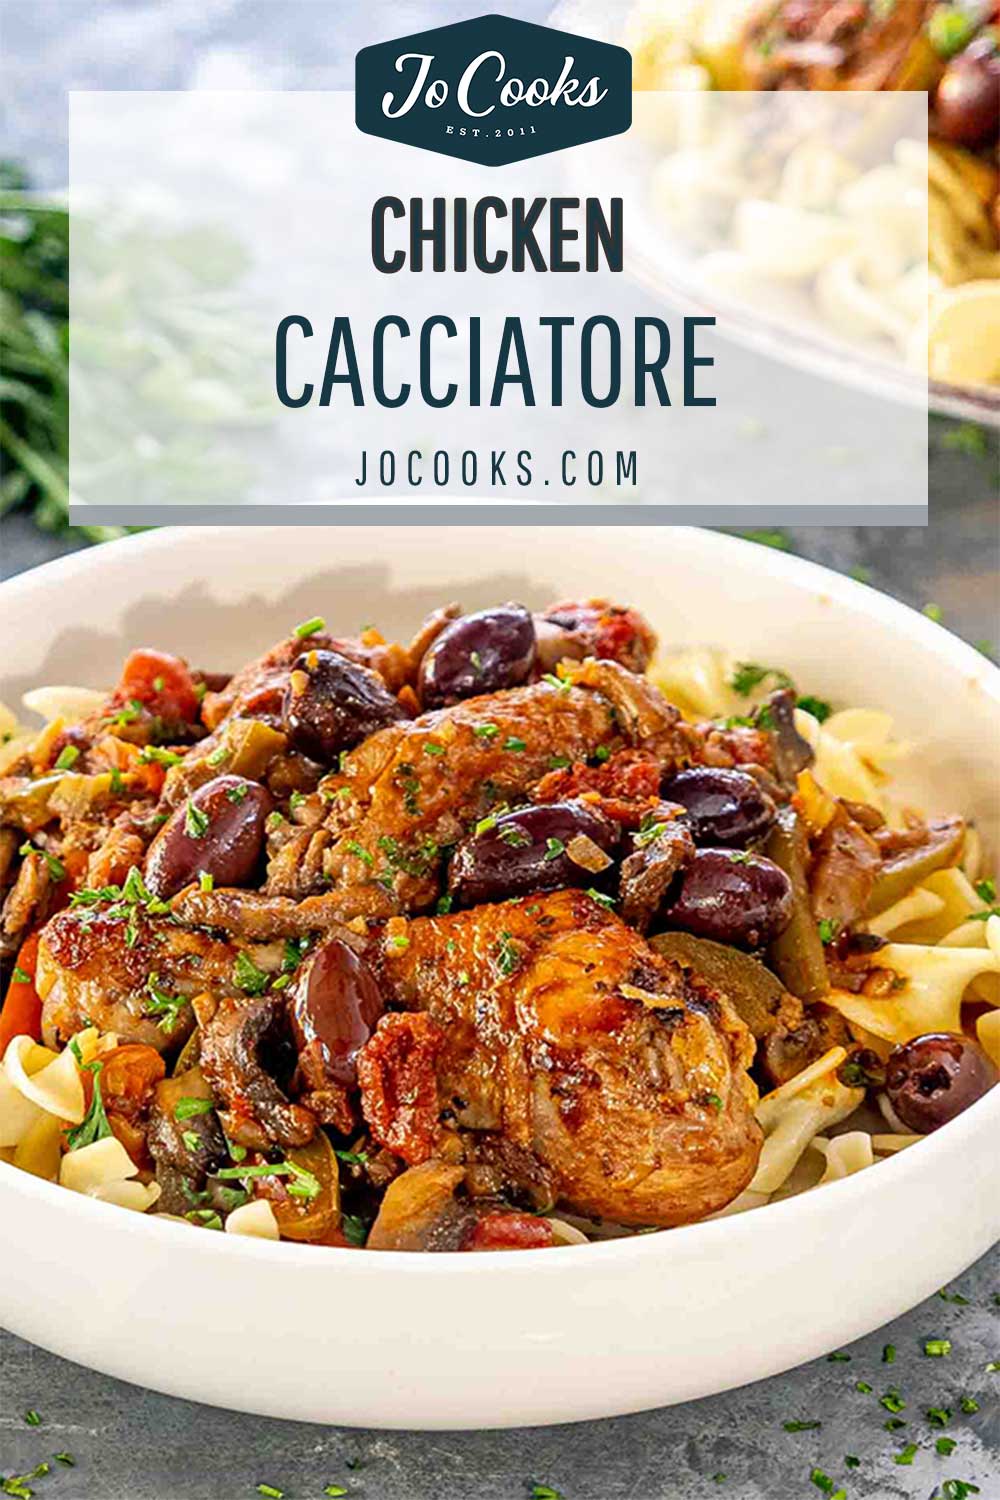
The Best Chicken Cacciatore Recipe
Chicken Cacciatore is one of those dishes that instantly makes me feel like I’ve got life together—even if I’m wearing pajama pants and the dogs are barking at nothing. It’s cozy, rustic, and full of flavor, but totally unfussy. One big pan, some basic ingredients, and the oven takes it from there.
This is how I make it at home—bone-in chicken that practically falls off the bone, sautéed peppers and mushrooms, a splash of red wine (some for the pot, some for me), and olives tossed in at the end because we’re fancy like that. It smells like you’ve been simmering all day, but your stove knows better.
Why You’ll Love This Chicken Cacciatore
- One Pot, Big Flavor – Everything simmers in one oven-safe skillet, soaking up all that garlicky, herby, wine-spiked tomato sauce. No stovetop juggling, no mess.
- Cozy, Rustic Vibes – This isn’t a buttoned-up, plated chicken dish. It’s saucy, hearty, and meant to be served family-style over something that soaks it all up.
- Bone-In Chicken = Built-In Flavor – I use wings and drumsticks for maximum tenderness and richness. Bonus: no slicing required.
- Even Better the Next Day – Like most braised dishes, the flavors deepen overnight. It reheats like a dream.
- Classic but Flexible – Add extra mushrooms, skip the olives, or swap in white wine—this dish isn’t fussy, and it’s hard to mess up.
Chicken Cacciatore isn’t complicated, but there are a few things you should know before you start tossing things into the pan. This dish is all about building flavor in layers, using simple techniques that actually matter.
🍗 Use Bone-In, Skin-On Chicken
Wings and drumsticks are perfect here. They stay juicy, they add richness to the sauce, and they handle long cooking like champs. Boneless breasts will dry out and don’t bring the same depth—save those for something faster.
🔥 Don’t Skip the Sear
Browning the chicken before it goes into the oven adds a ton of flavor. You don’t need to cook it through—just get that golden crust going. It makes a difference.
🍄 Cook the Mushrooms First
Yes, before the peppers. Mushrooms release moisture, and if you throw everything in together, they’ll steam instead of brown. I like to give them 5 minutes to cook down on their own first, then add the peppers after.
🍷 Wine or No Wine?
I use red wine because it gives the sauce depth and richness you can’t fake. But if you’re skipping alcohol, use low-sodium chicken broth and maybe a splash of balsamic vinegar to round things out.
🫒 Don’t Add the Olives Too Early
Olives go in at the end so they don’t get mushy or overpower the sauce. They’re meant to finish the dish—not take it over.
⏱️ This One’s a Slow Simmer
The oven time is where the magic happens. Give it at least 45 minutes for the chicken to fully soak in that sauce. Want it falling-off-the-bone tender? Go for the full hour.
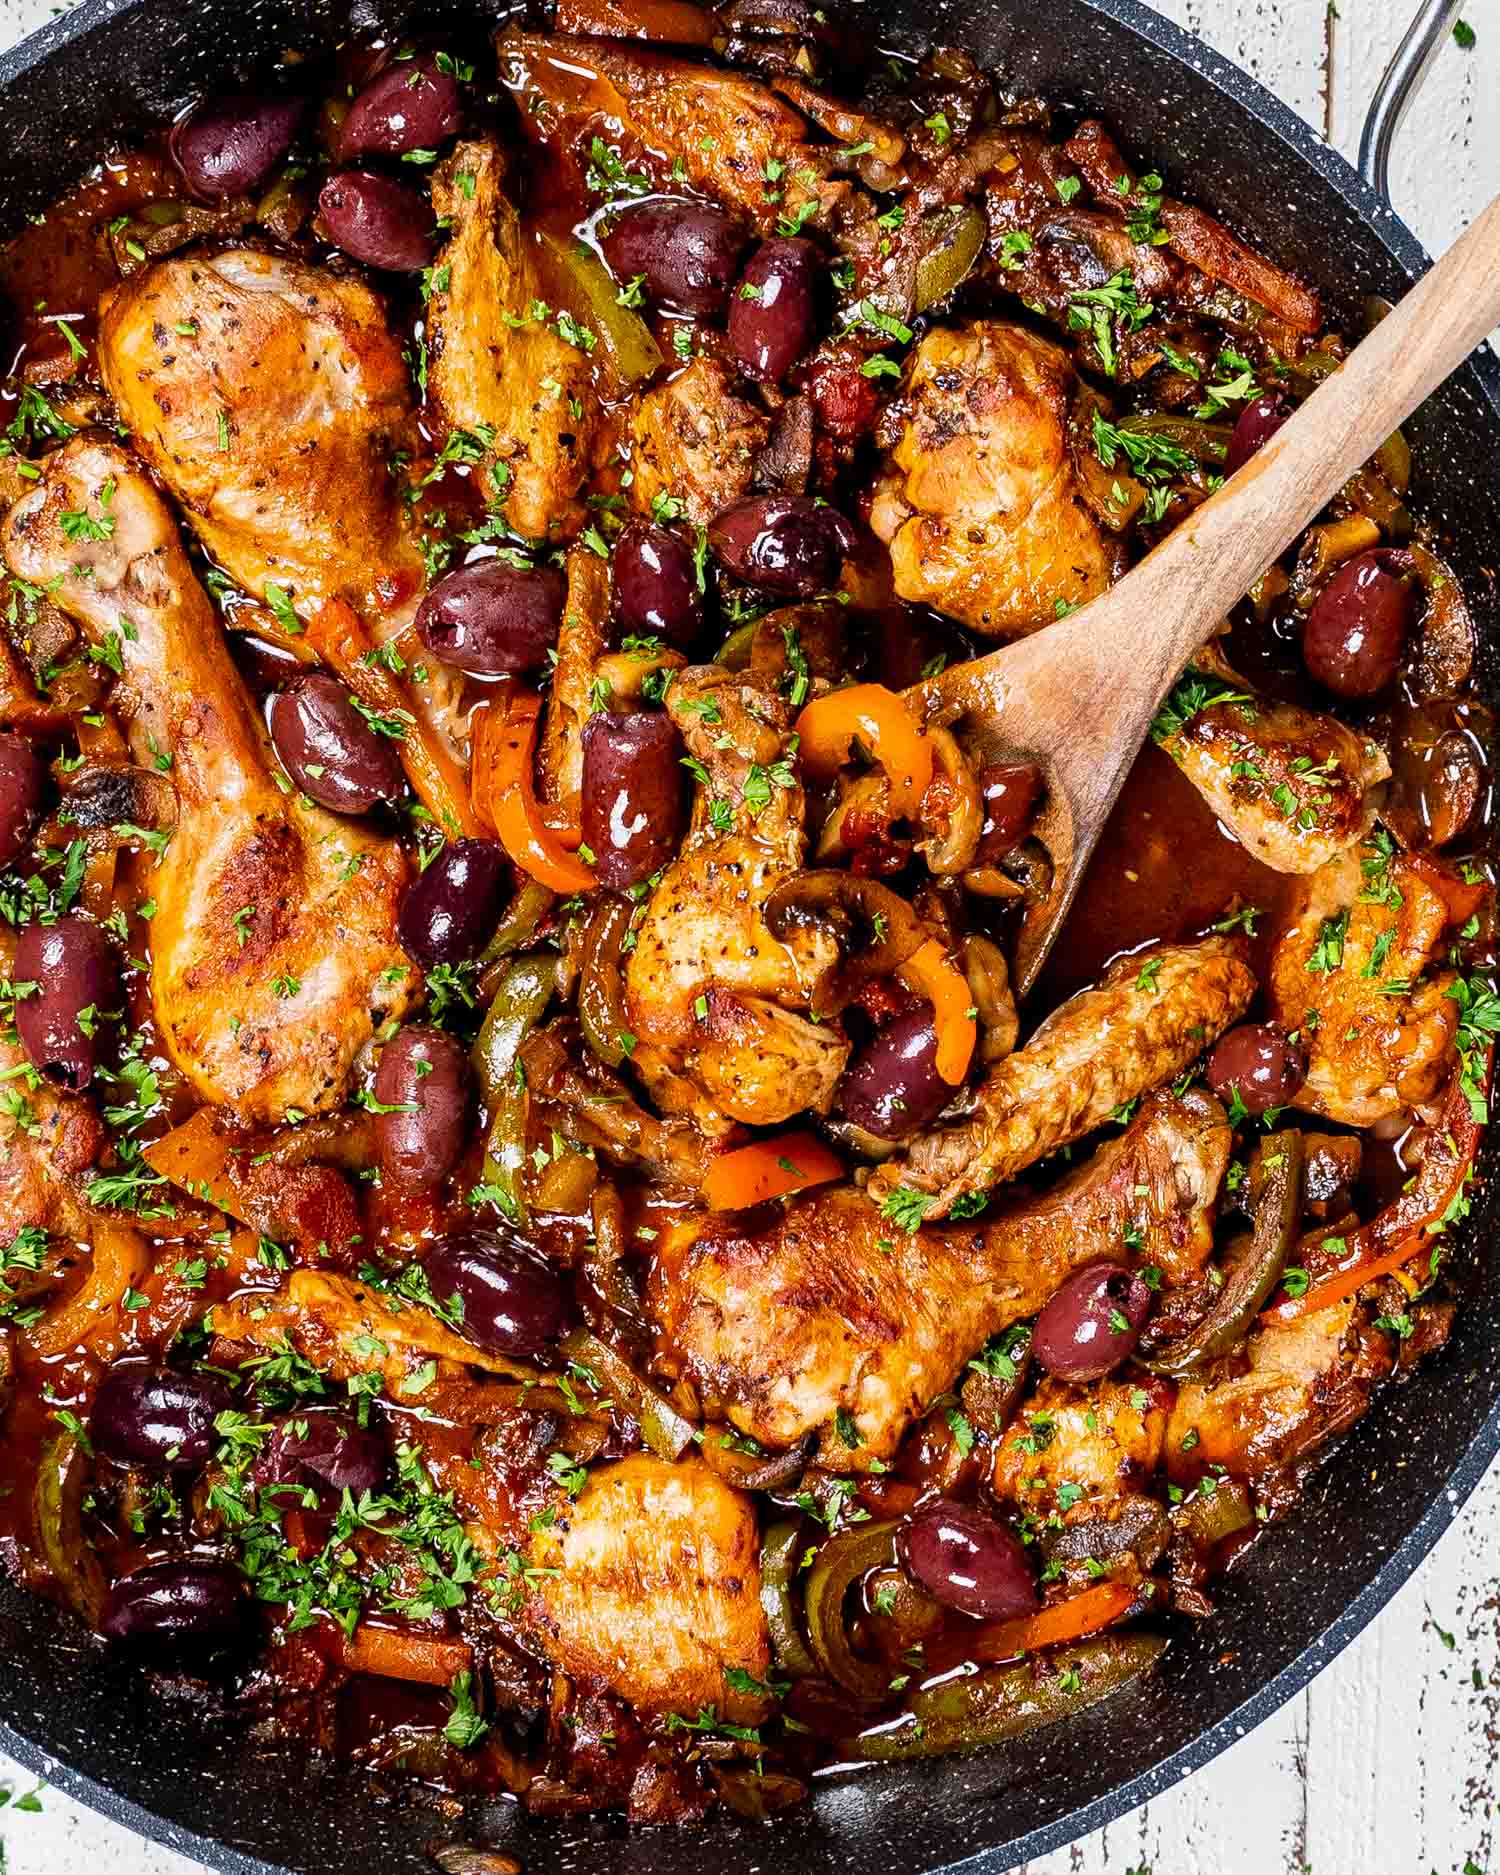
This is a one-pan wonder, so once you’ve got everything prepped, the rest is mostly hands-off. Just build flavor in layers, pop it in the oven, and let it work its magic.
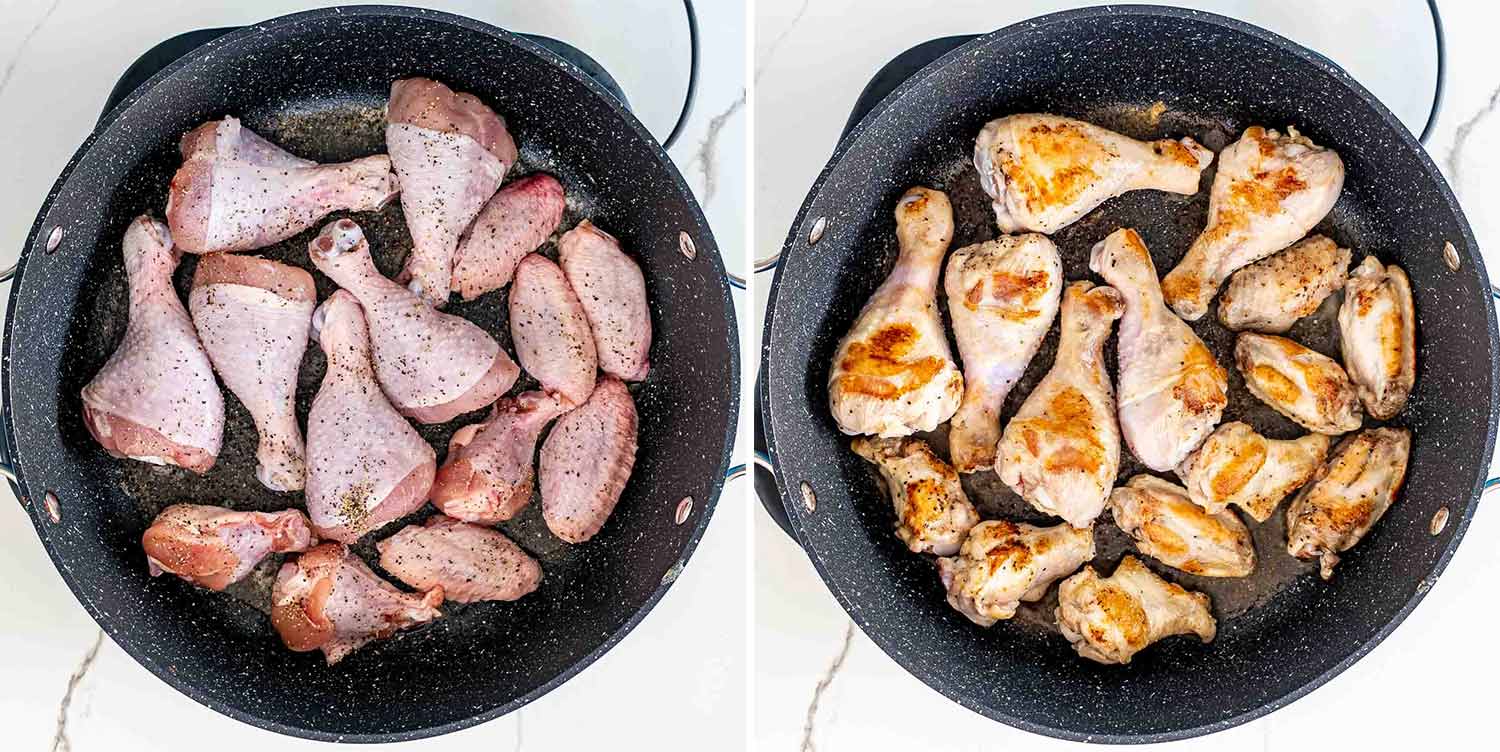
Heat the olive oil and butter in a large oven-safe skillet or Dutch oven. Add the chicken and season with salt and pepper. Sear for about 4 minutes per side until golden. No need to cook it through—it’ll finish in the oven. Transfer to a plate and set aside.
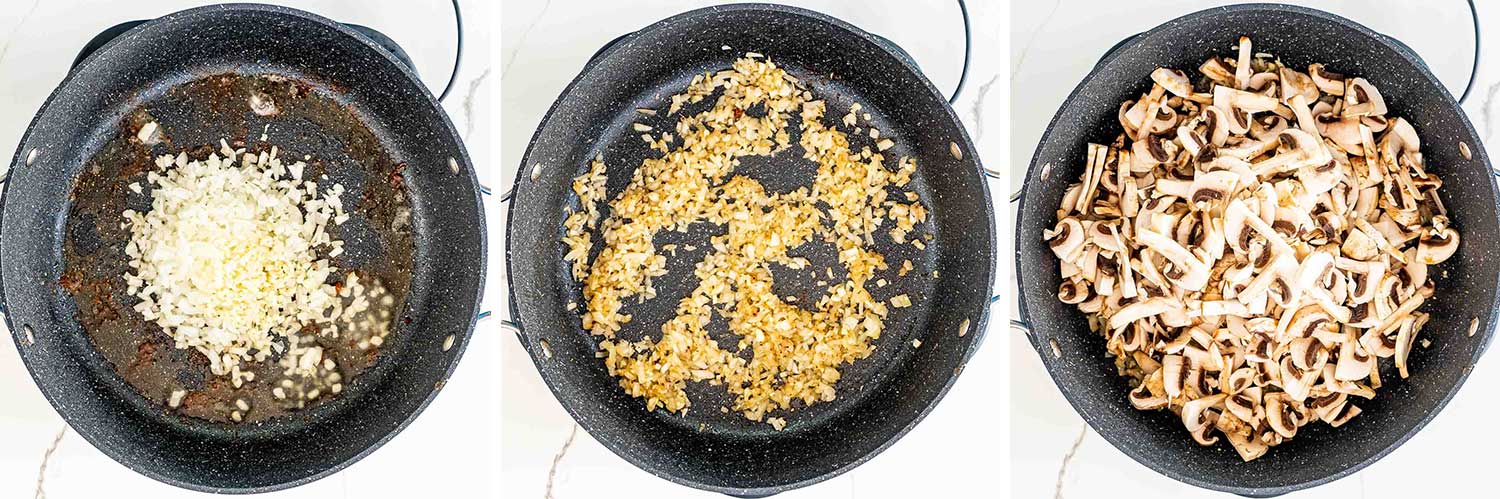
Add the garlic and onions to the same pan and cook for about 2 minutes until soft and fragrant. Don’t rush this step—it lays the foundation.
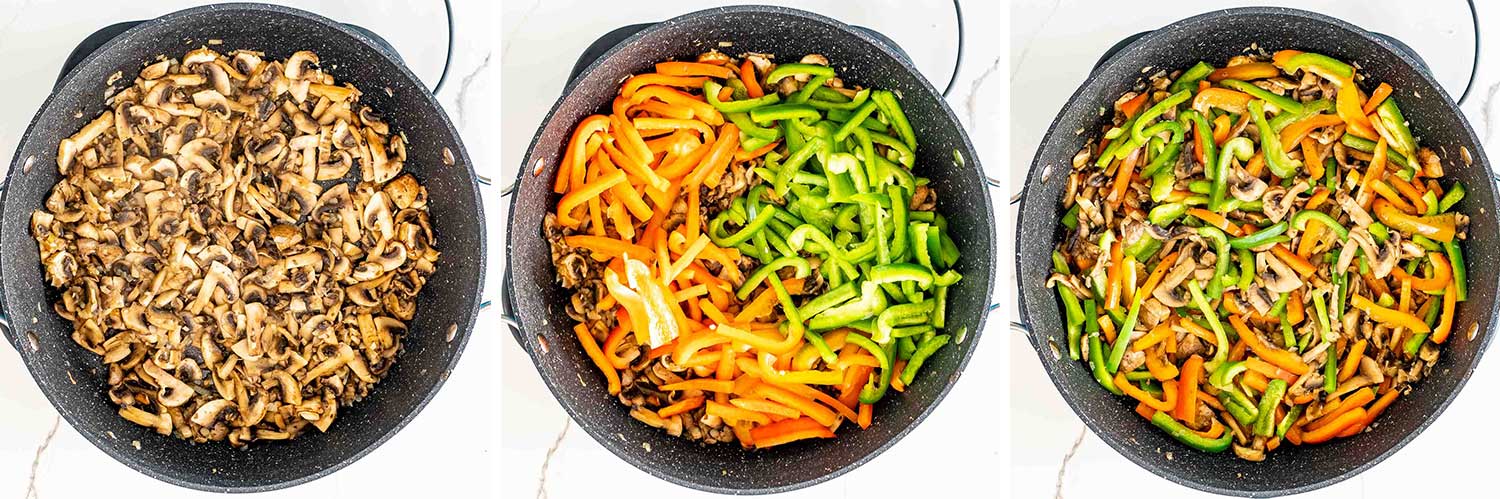
Toss in the mushrooms and cook for 5 minutes. Let them release their moisture and start to brown. Then add the bell peppers and sauté for another couple of minutes just until they soften slightly.
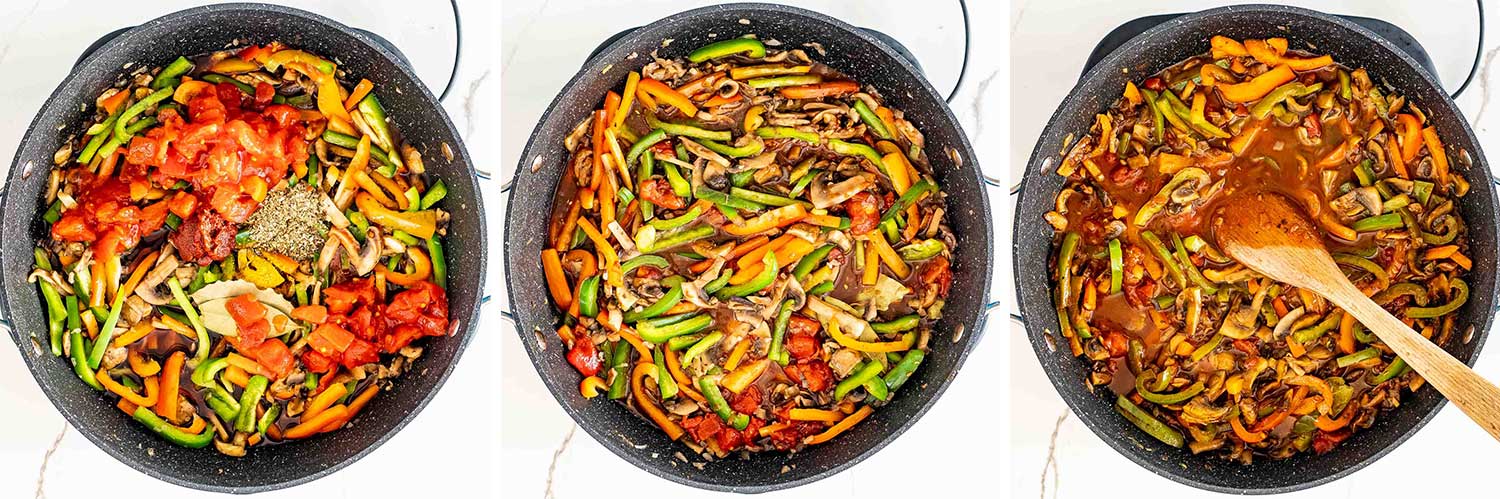
Stir in the turmeric, oregano, bay leaves, red wine, tomato paste, and diced tomatoes. Bring everything to a gentle boil, scraping up all those browned bits from the bottom of the pan.
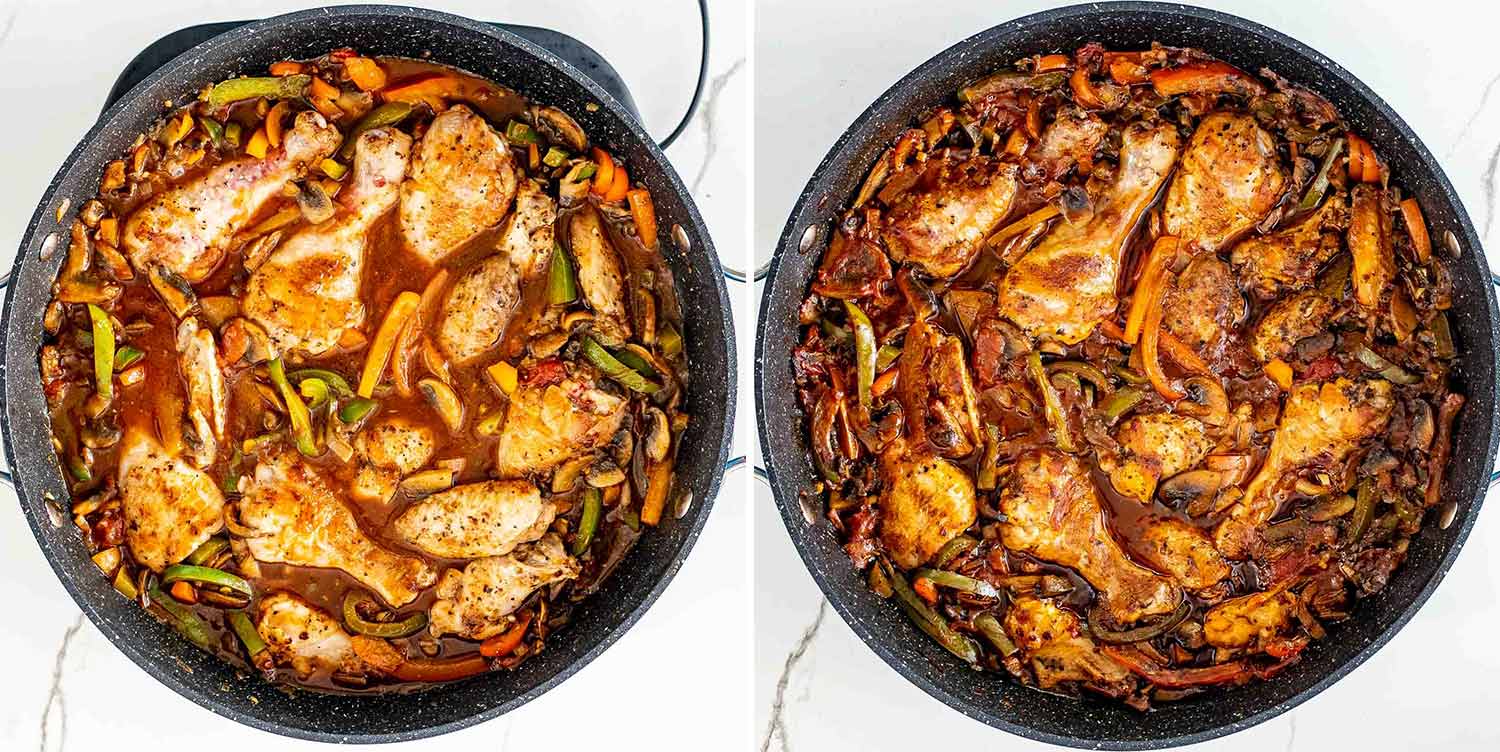
Nestle the seared chicken pieces back into the sauce. Cover with a lid and transfer the whole pan to the oven. Bake at 400°F for 45 minutes to 1 hour, depending on how tender you like your chicken.

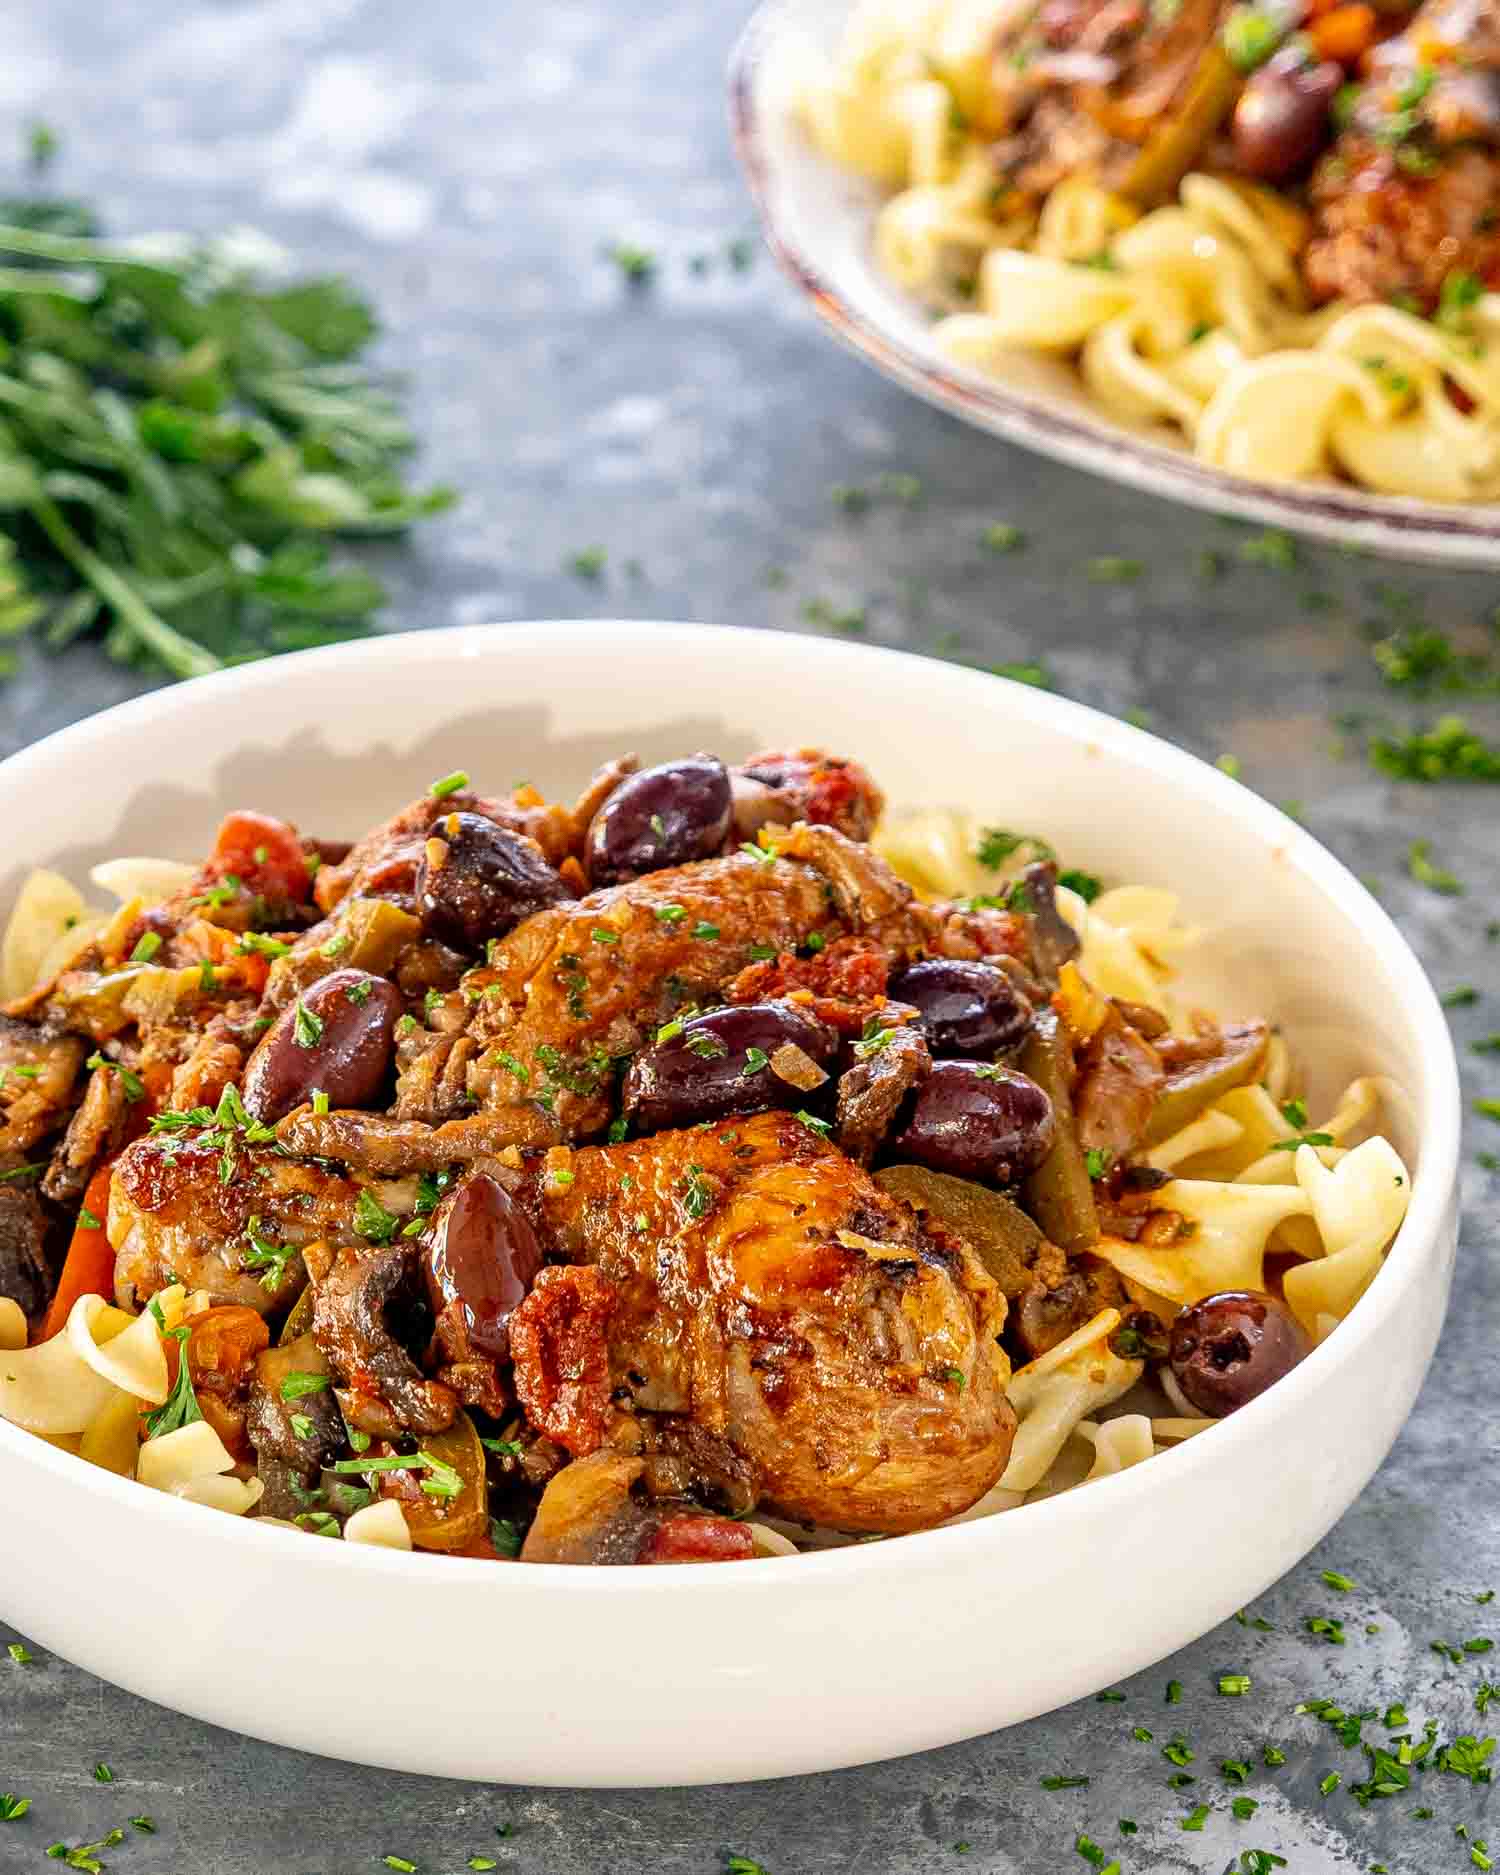
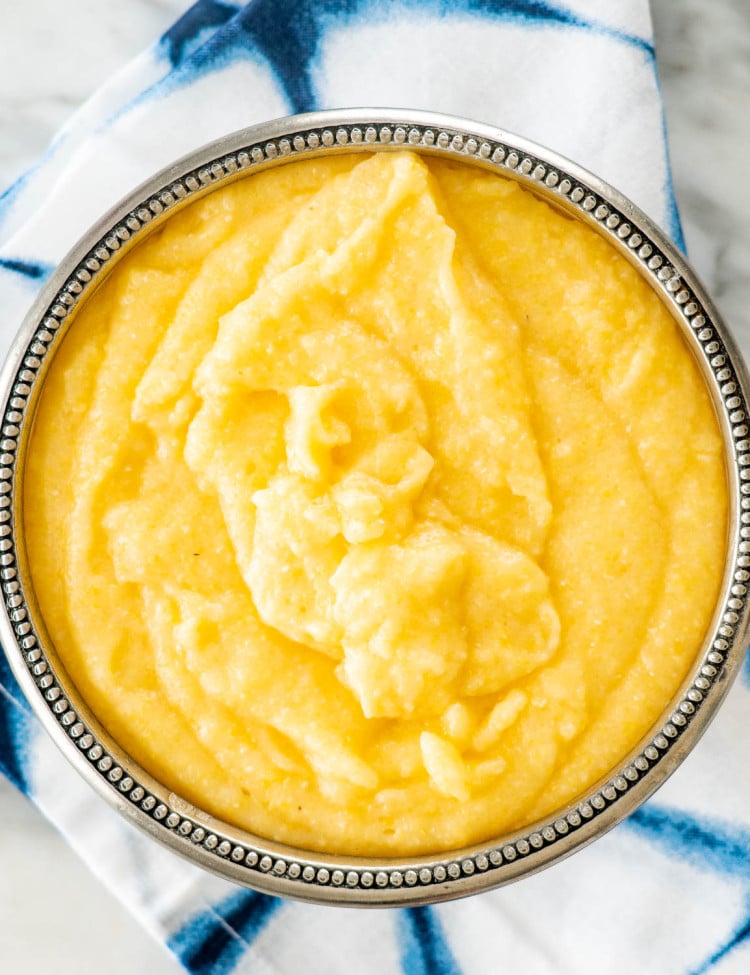
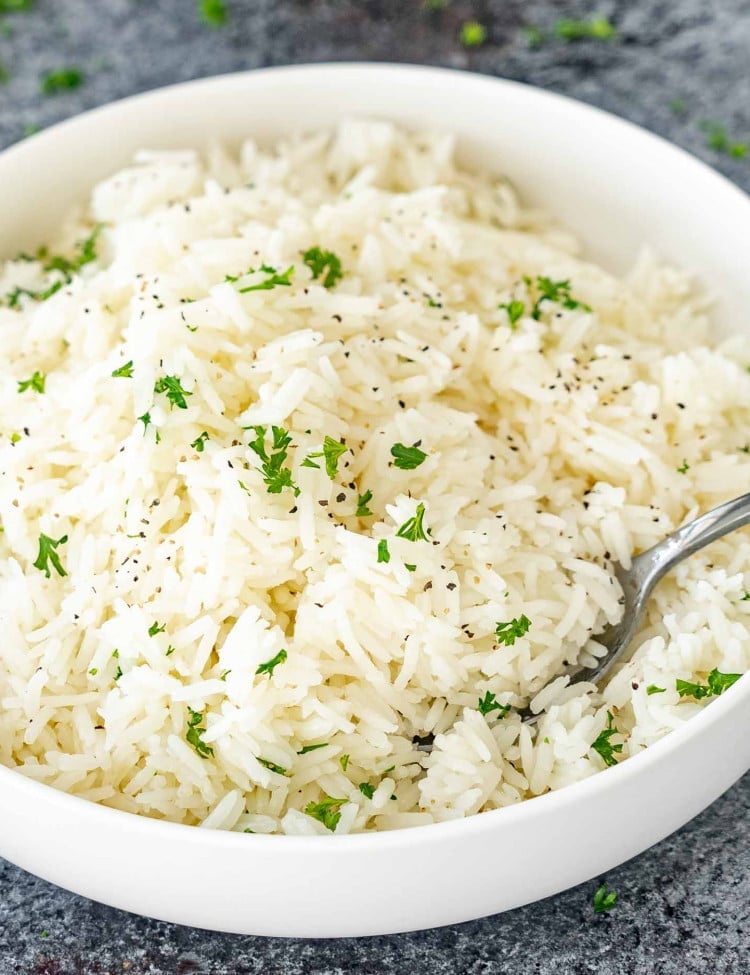
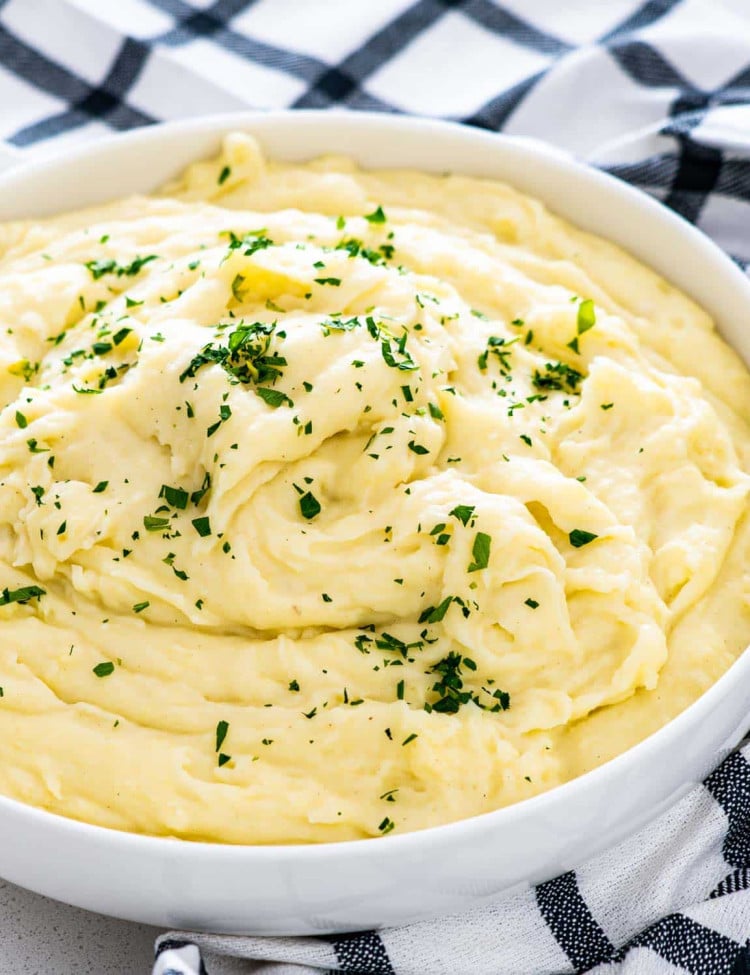
Once it’s out of the oven, top with the Kalamata olives and sprinkle with fresh parsley. Serve it over noodles, rice, or creamy polenta. And don’t forget the crusty bread for mopping up that sauce.
Jo’s Tip:
Don’t skip the oven time. That slow braise is what makes the chicken fall-off-the-bone tender and gives the sauce its rich, developed flavor. And if you’ve got time? Let it rest for 10 minutes before serving—it’s even better once it settles.
How To Serve It
This dish is saucy, savory, and begging for something to soak it all up. Here are some of my favorite ways to serve it:

Frequently Asked Questions
Can I use boneless chicken?
You can, but bone-in, skin-on chicken brings way more flavor and stays juicy while it bakes. Boneless thighs will work if you’re short on time, but I’d skip the breasts.
Can I make this without wine?
Yep. Swap the wine for low-sodium chicken broth and add a splash of balsamic or red wine vinegar for a little acidity and richness.
What kind of wine should I use?
Go for a dry red wine—Chianti, Pinot Noir, or even Cabernet Sauvignon work great. Use something you’d drink (not cooking wine) but don’t stress—just keep it dry, not sweet.
What kind of olives are best?
I love Kalamata olives for their bold flavor, but green or Castelvetrano work too. Just wait to add them at the end so they don’t go mushy or take over the sauce.
Can I make it ahead of time?
Absolutely. This dish gets even better after a day in the fridge. Make it up to 2 days ahead and reheat gently on the stove or in a 350°F oven.
Can I freeze Chicken Cacciatore?
Yes, minus the olives if possible. Freeze in an airtight container for up to 3 months. Thaw overnight in the fridge, then reheat gently until warmed through.
Storage & Reheating
Fridge:
Store leftovers in an airtight container for up to 4 days. The flavors get even better overnight, so don’t be surprised if it tastes even richer the next day.
Freezer:
Chicken Cacciatore freezes well—just leave the olives out if you’re making it specifically to freeze (they can go a bit mushy). Store in a freezer-safe container for up to 3 months. Thaw overnight in the fridge.
To Reheat:
Warm gently on the stovetop over medium-low heat, or reheat in a 350°F oven until heated through. Add a splash of broth or water if the sauce has thickened too much in the fridge.

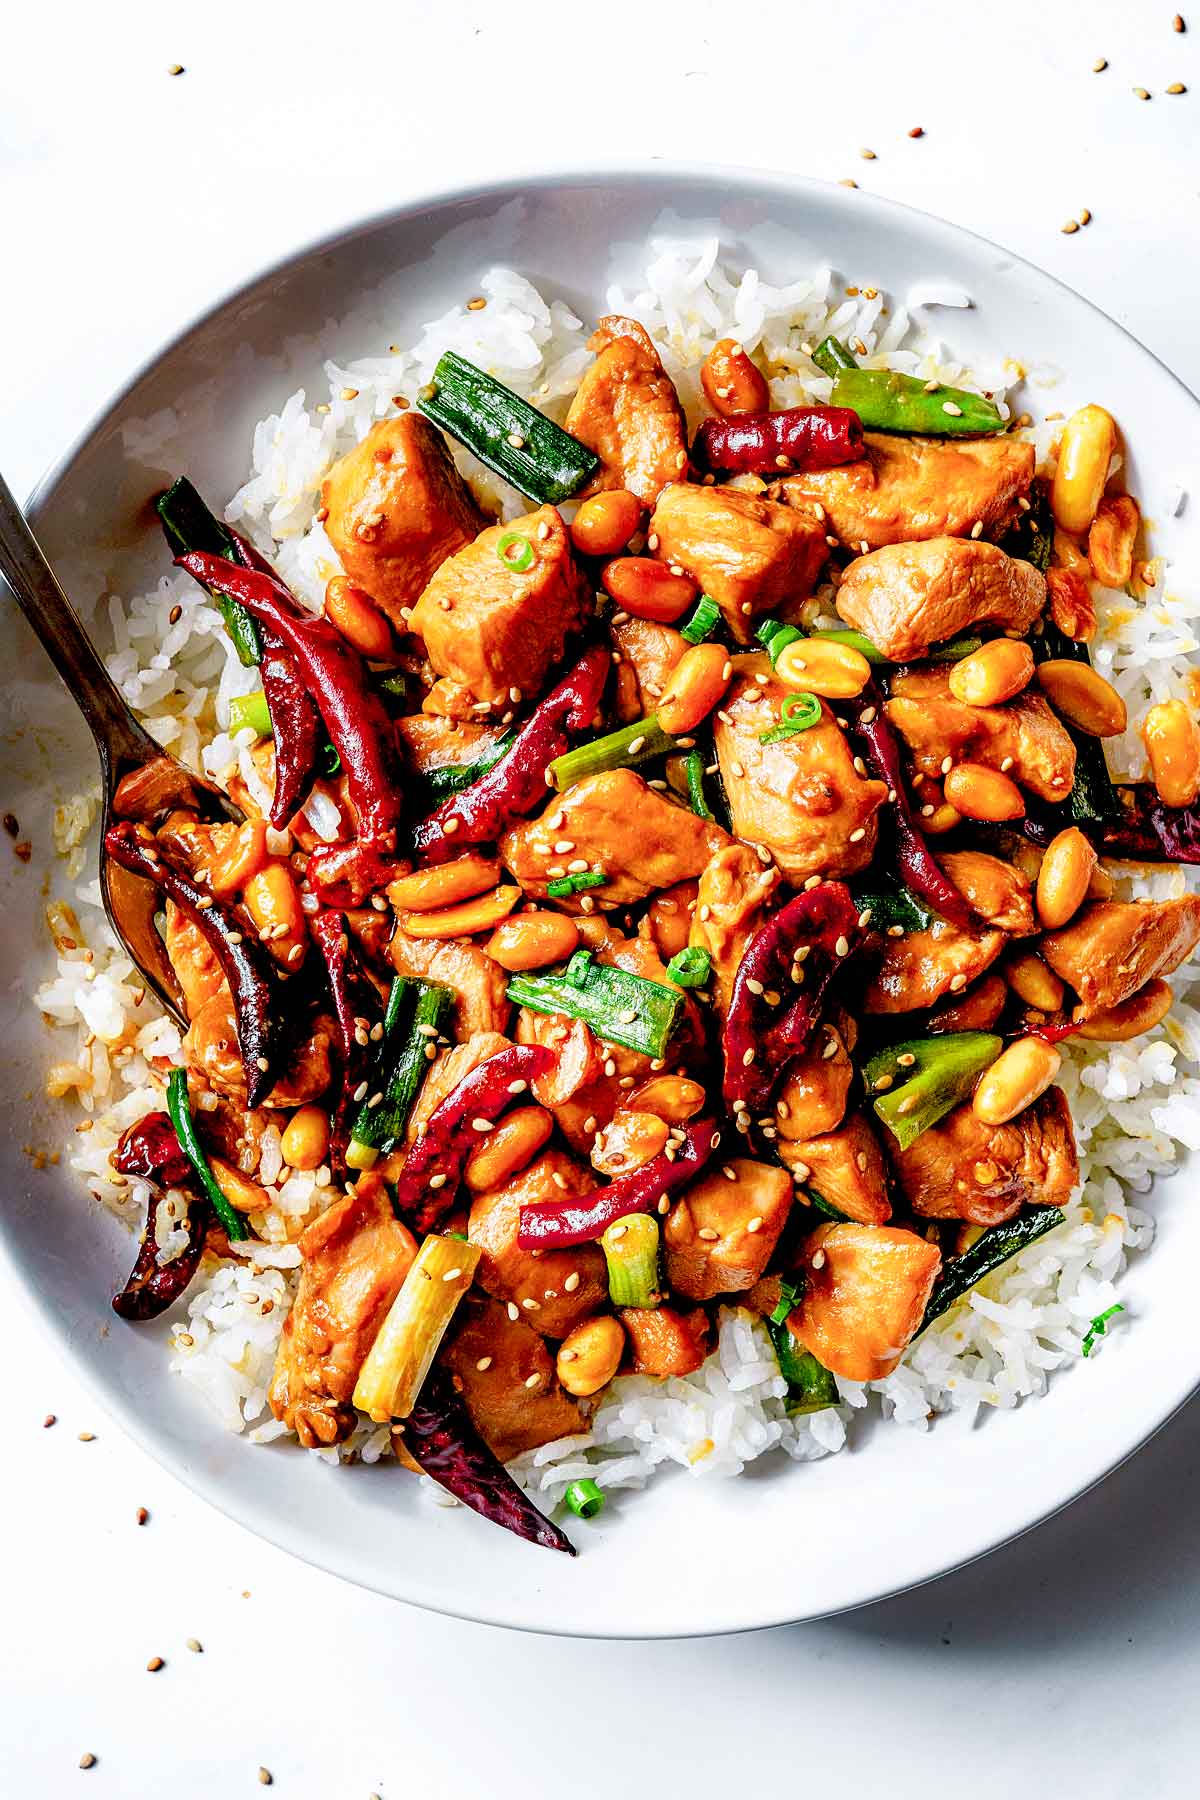
Try These Chicken Recipes Next
Before You Begin! If you make this, please leave a review and rating letting us know how you liked this recipe! This helps our business thrive & continue providing free recipes.

Chicken Cacciatore
This rustic Chicken Cacciatore is comfort food at its finest—juicy bone-in chicken simmered in a rich tomato and red wine sauce with mushrooms, sweet peppers, and briny olives. All baked in one pot for deep flavor and easy cleanup.
Before You Begin! If you make this, please leave a review and rating letting us know how you liked this recipe! This helps our business thrive & continue providing free recipes.
Instructions
-
Preheat oven to 400°F.
-
Add the olive oil and butter to a large oven-safe skillet with a lid, and heat until butter has melted.
-
Add the chicken to the skillet and season generously with salt and pepper. Fry the chicken on both sides until golden, about 4 min per side. The chicken doesn't have to be cooked through, as it will continue cooking while in the oven. Transfer the chicken to a plate and set aside.
-
Add the garlic and onions to the skillet and saute for 2 minutes until the onion is translucent and the garlic becomes aromatic. Add the chopped mushrooms and cook for 5 min until the mushrooms cook down then add the peppers.
-
I like to cook my mushrooms first, but you could add the mushrooms and peppers all at once. Stir and cook for a couple more minutes until the peppers soften a bit.
-
Add the turmeric, oregano, bay leaves, red wine, tomato paste, and diced tomatoes. Stir well and bring to a boil.
-
Add the chicken back to the pot, cover with a lid and place in the oven. Bake for 45 minutes to an hour.
-
Top with whole Kalamata olives and garnish with fresh parsley before serving.
-
Serve over noodles, rice or polenta.
Notes
- Chicken: I use a mix of wings and drumsticks, but any bone-in, skin-on pieces work. Thighs are great too. Boneless chicken will cook faster, but it won’t have the same depth of flavor.
- Mushrooms First: Cooking the mushrooms before the peppers helps them brown and build flavor instead of steaming.
- Wine Swaps: Chianti, Pinot Noir, or any dry red works. No wine? Use low-sodium chicken broth + a splash of balsamic or red wine vinegar.
- Make It Ahead: Perfect for prepping ahead. Store in the fridge for up to 4 days—flavors deepen and the sauce gets even better overnight.
- Deglaze the pan. When adding the wine and other liquid ingredients make sure to scrape the bottom of the pan to loosen all the browned bits. This will make the cacciatore more flavorful.
Nutrition Information
Serving: 1servingCalories: 354kcal (18%)Carbohydrates: 14g (5%)Protein: 22g (44%)Fat: 21g (32%)Saturated Fat: 6g (38%)Polyunsaturated Fat: 3gMonounsaturated Fat: 10gTrans Fat: 0.2gCholesterol: 103mg (34%)Sodium: 712mg (31%)Potassium: 877mg (25%)Fiber: 4g (17%)Sugar: 6g (7%)Vitamin A: 1196IU (24%)Vitamin C: 90mg (109%)Calcium: 75mg (8%)Iron: 3mg (17%)
Notice: Nutrition is auto-calculated for your convenience. Where relevant, we recommend using your own nutrition calculations.
Originally shared Sept 17, 2013.
[ad_2]
Source link


